Nest 集成 Etcd 做注册中心、配置中心
我们学了 etcd 来做配置中心和注册中心,它比较简单,就是 key 的 put、get、del、watch 这些。
虽然简单,它却是微服务体系必不可少的组件:
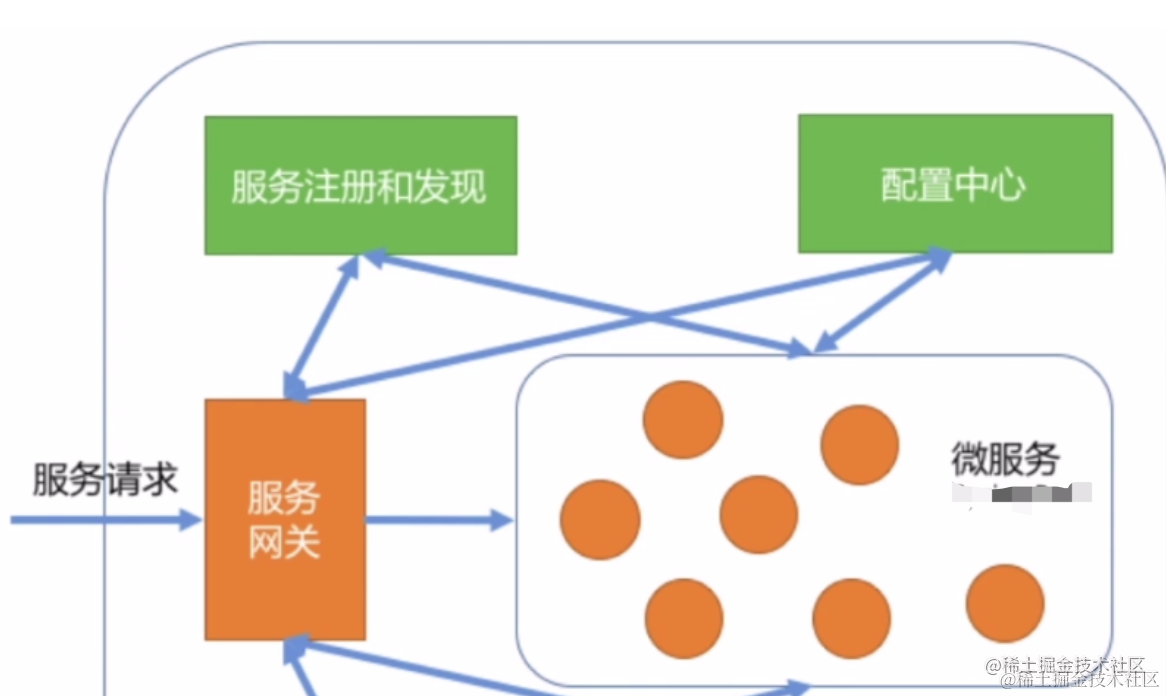
服务注册、发现、配置集中管理,都是用它来做。
那 Nest 里怎么集成它呢?
其实和 Redis 差不多。
集成 Redis 的时候我们就是写了一个 provider 创建连接,然后注入到 service 里调用它的方法。
还可以像 TypeOrmModule、JwtModule 等这些,封装一个动态模块:
下面我们就来写一下:
nest new nest-etcd

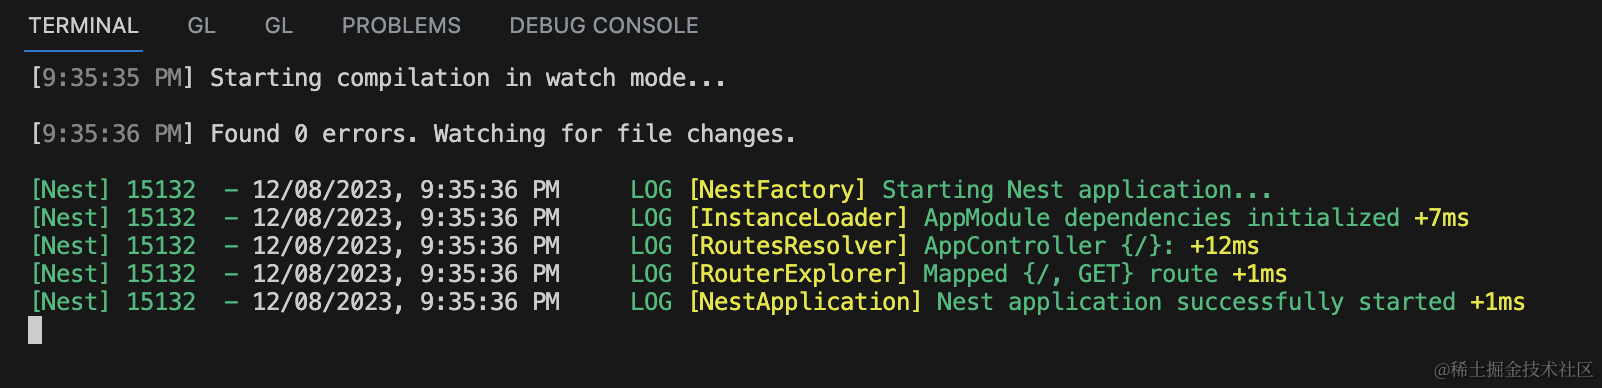
进入项目,把服务跑起来:
npm run start:dev
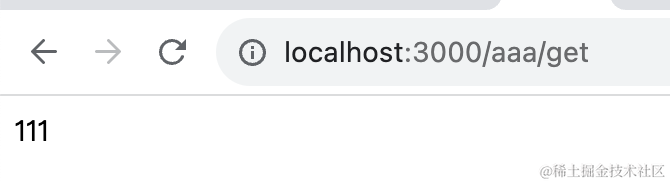
浏览器访问下:
nest 服务跑起来了。
按照上节的步骤把 etcd 服务跑起来:
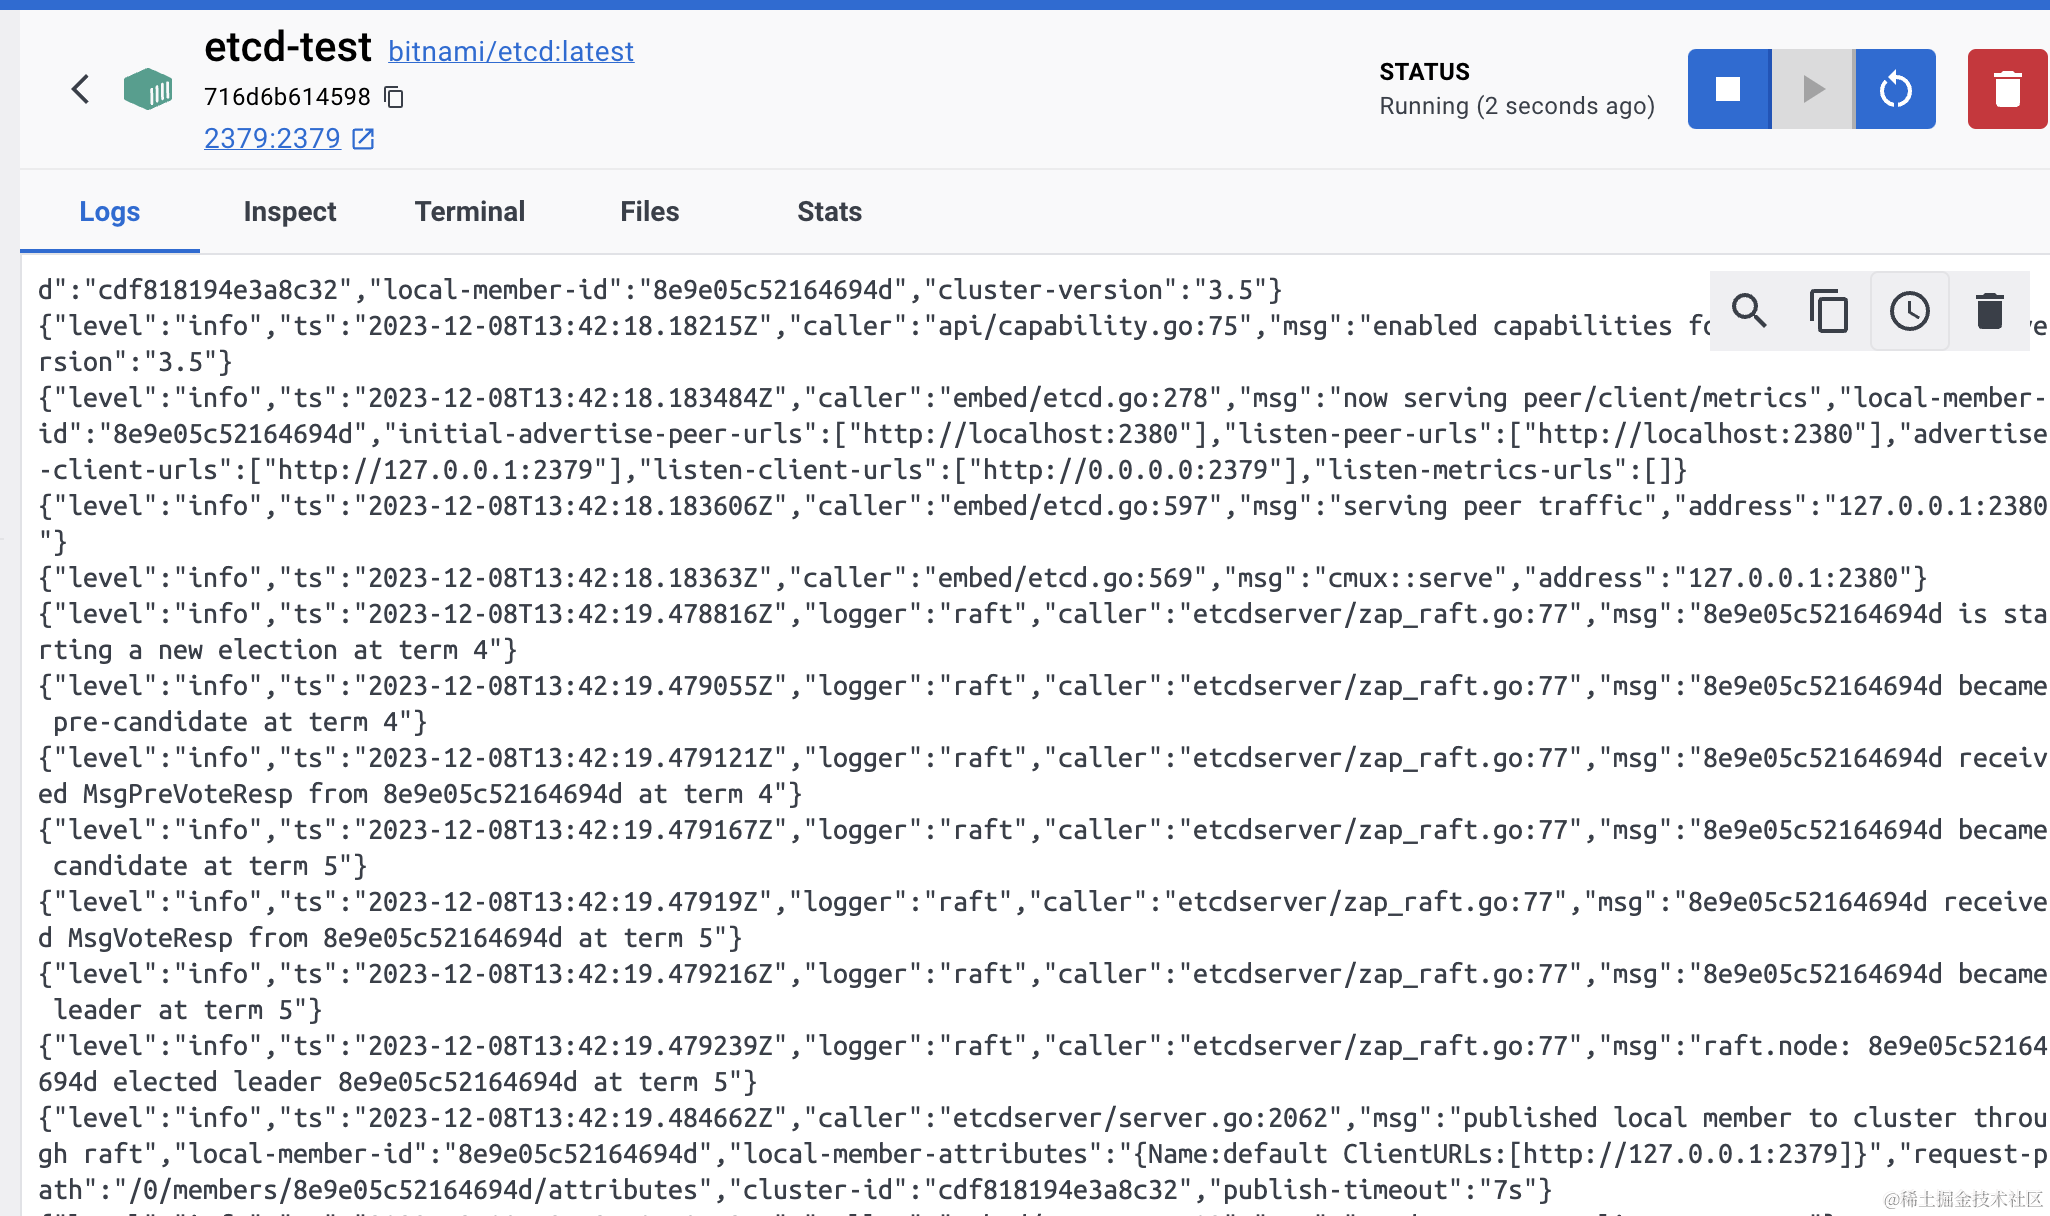
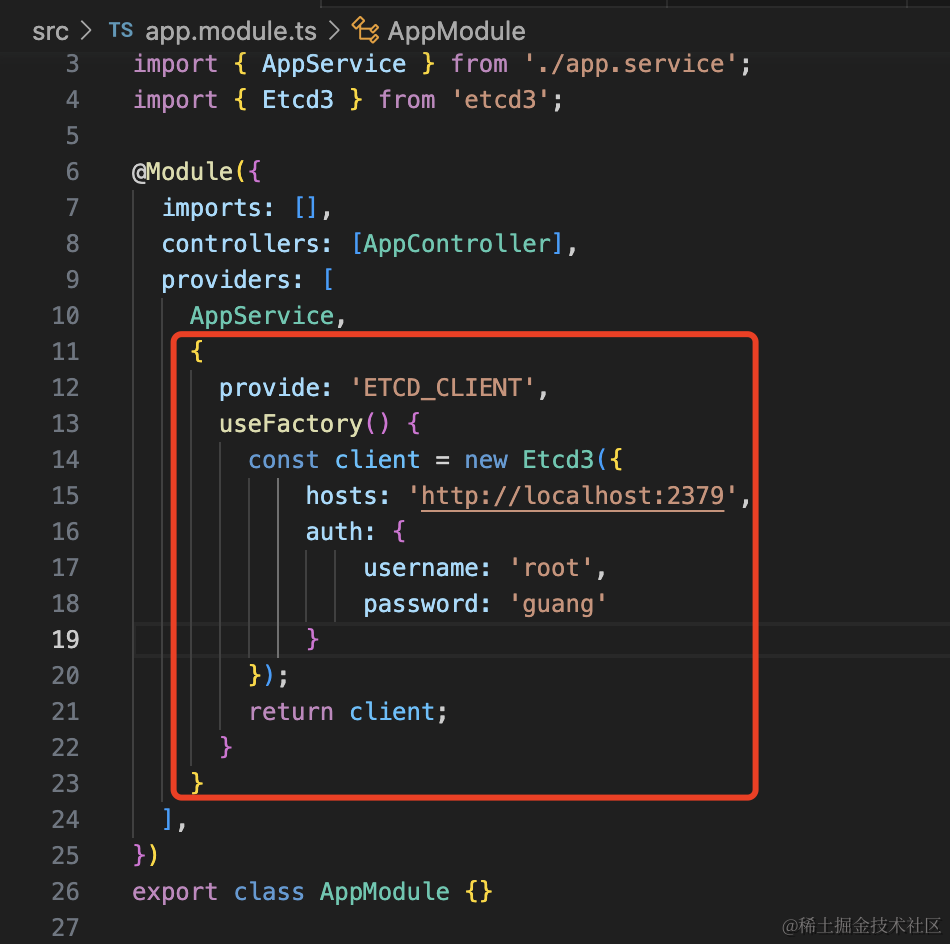
然后我们加一个 etcd 的 provider:
import { Module } from "@nestjs/common";
import { AppController } from "./app.controller";
import { AppService } from "./app.service";
import { Etcd3 } from "etcd3";

@Module({
    imports: [],
    controllers: [AppController],
    providers: [
        AppService,
        {
            provide: "ETCD_CLIENT",
            useFactory() {
                const client = new Etcd3({
                    hosts: "http://localhost:2379",
                    auth: {
                        username: "root",
                        password: "guang",
                    },
                });
                return client;
            },
        },
    ],
})
export class AppModule {}
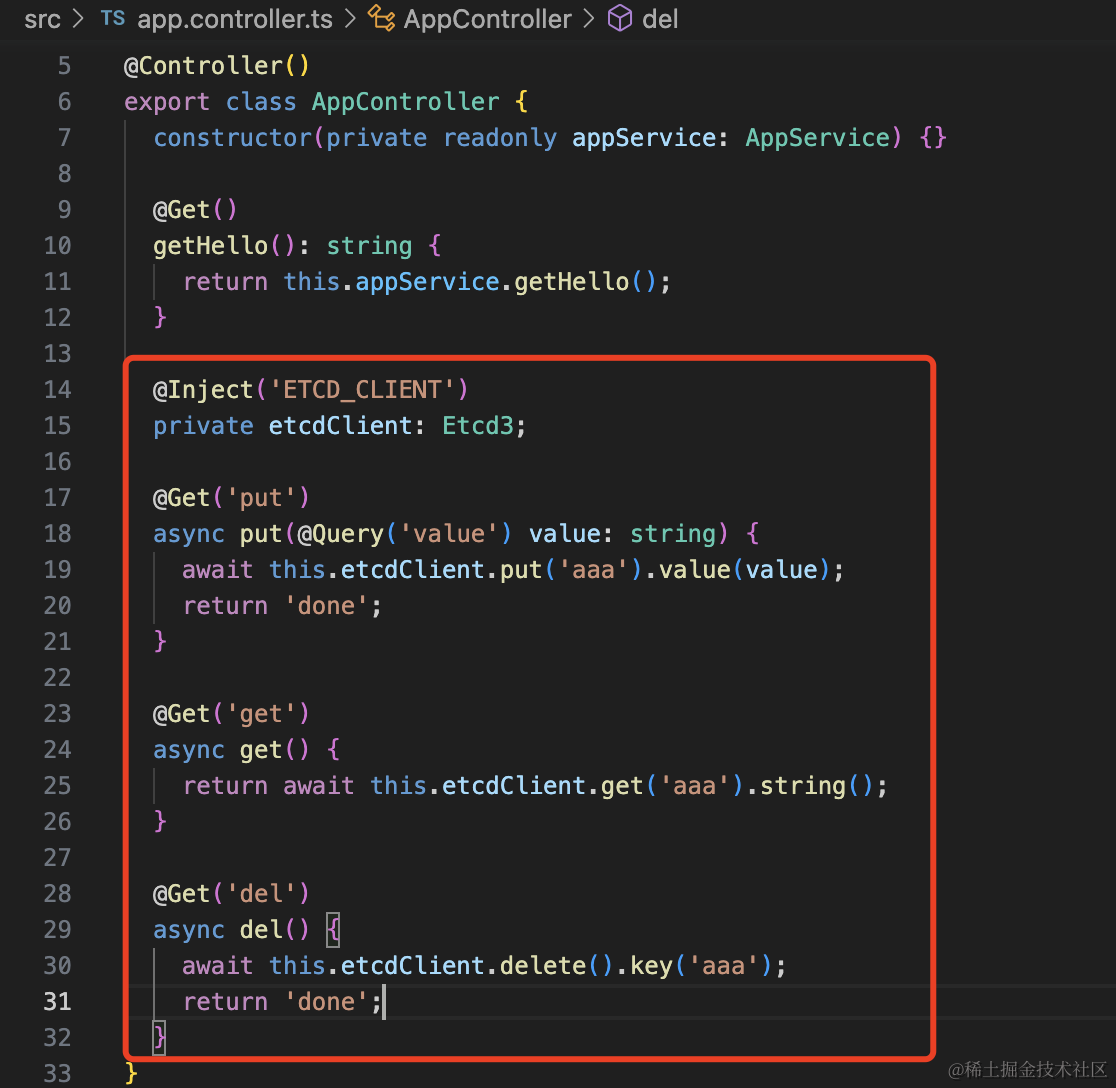
在 AppController 里注入下:
import { Controller, Get, Inject, Query } from "@nestjs/common";
import { AppService } from "./app.service";
import { Etcd3 } from "etcd3";
@Controller()
export class AppController {
constructor(private readonly appService: AppService) {}
@Get()
getHello(): string {
return this.appService.getHello();
}
@Inject("ETCD_CLIENT")
private etcdClient: Etcd3;
@Get("put")
async put(@Query("value") value: string) {
await this.etcdClient.put("aaa").value(value);
return "done";
}
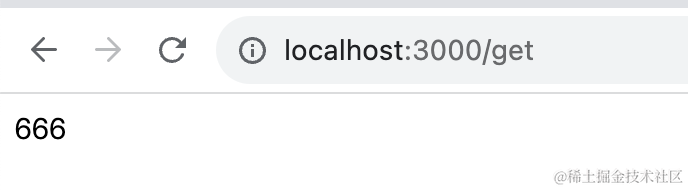
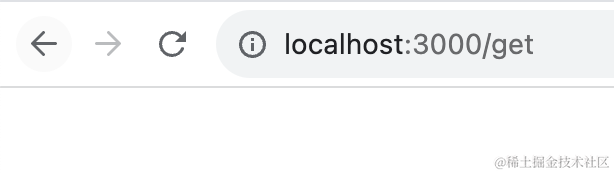
@Get("get")
async get() {
return await this.etcdClient.get("aaa").string();
}
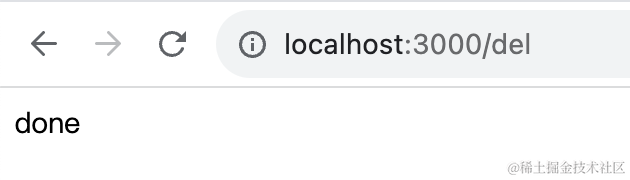
@Get("del")
async del() {
await this.etcdClient.delete().key("aaa");
return "done";
}
}
测试下:
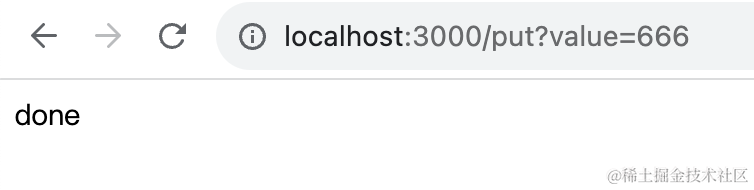
这样 etcd 就集成好了,很简单。
然后我们封装一个动态模块。
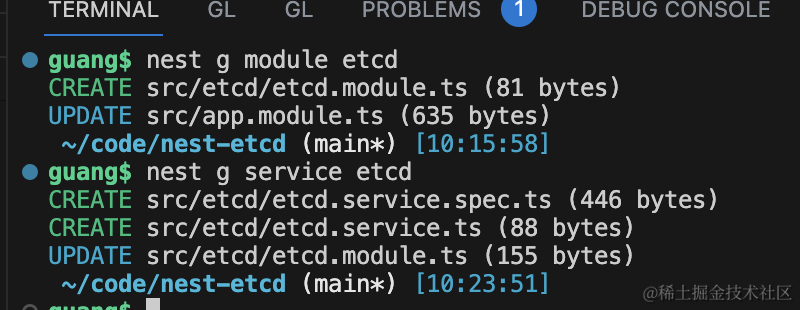
创建一个 module 和 service:
nest g module etcd
nest g service etcd
在 EtcdModule 添加 etcd 的 provider:
import { Module } from "@nestjs/common";
import { EtcdService } from "./etcd.service";
import { Etcd3 } from "etcd3";

@Module({
    providers: [
        EtcdService,
        {
            provide: "ETCD_CLIENT",
            useFactory() {
                const client = new Etcd3({
                    hosts: "http://localhost:2379",
                    auth: {
                        username: "root",
                        password: "guang",
                    },
                });
                return client;
            },
        },
    ],
    exports: [EtcdService],
})
export class EtcdModule {}
然后在 EtcdService 添加一些方法:
import { Inject, Injectable } from "@nestjs/common";
import { Etcd3 } from "etcd3";

@Injectable()
export class EtcdService {
    @Inject("ETCD_CLIENT")
    private client: Etcd3;

    // 保存配置
    async saveConfig(key, value) {
        await this.client.put(key).value(value);
    }

    // 读取配置
    async getConfig(key) {
        return await this.client.get(key).string();
    }

    // 删除配置
    async deleteConfig(key) {
        await this.client.delete().key(key);
    }

    // 服务注册
    async registerService(serviceName, instanceId, metadata) {
        const key = `/services/${serviceName}/${instanceId}`;
        const lease = this.client.lease(10);
        await lease.put(key).value(JSON.stringify(metadata));
        lease.on("lost", async () => {
            console.log("租约过期,重新注册...");
            await this.registerService(serviceName, instanceId, metadata);
        });
    }

    // 服务发现
    async discoverService(serviceName) {
        const instances = await this.client
            .getAll()
            .prefix(`/services/${serviceName}`)
            .strings();
        return Object.entries(instances).map(([key, value]) =>
            JSON.parse(value)
        );
    }

    // 监听服务变更
    async watchService(serviceName, callback) {
        const watcher = await this.client
            .watch()
            .prefix(`/services/${serviceName}`)
            .create();
        watcher
            .on("put", async (event) => {
                console.log("新的服务节点添加:", event.key.toString());
                callback(await this.discoverService(serviceName));
            })
            .on("delete", async (event) => {
                console.log("服务节点删除:", event.key.toString());
                callback(await this.discoverService(serviceName));
            });
    }
}
配置的管理、服务注册、服务发现、服务变更的监听,这些我们都写过一遍,就不细讲了。
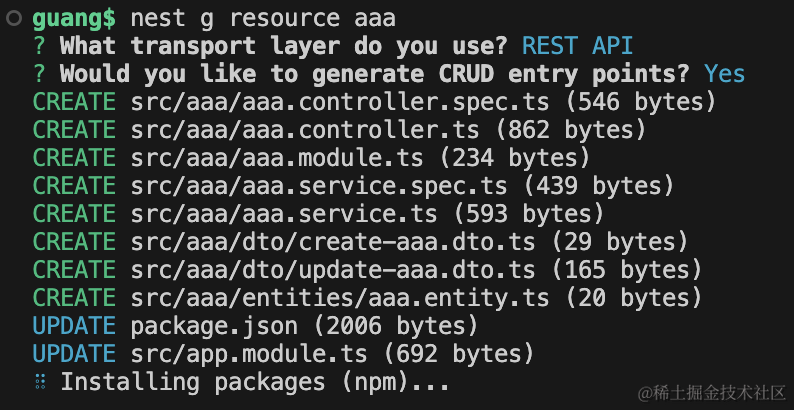
然后再创建个模块,引入它试一下:
nest g resource aaa
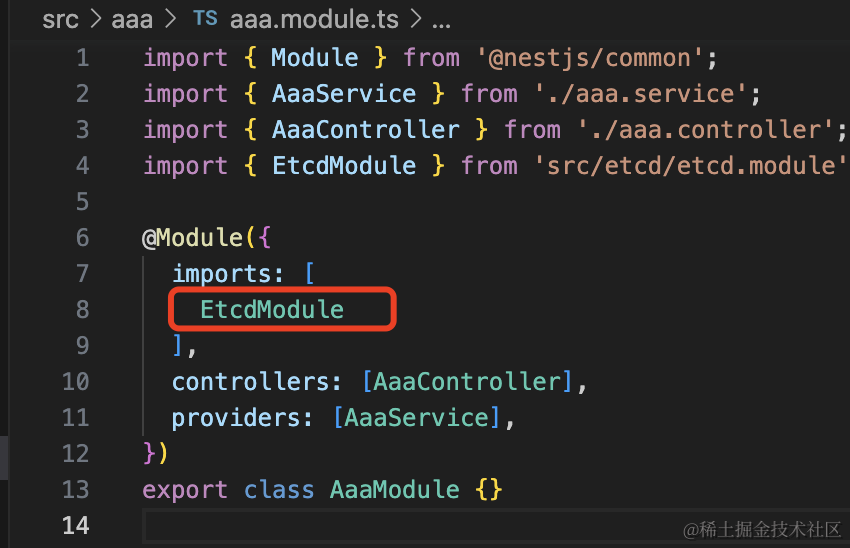
引入 EtcdModule:
然后在 AaaController 注入 EtcdService,添加两个 handler:
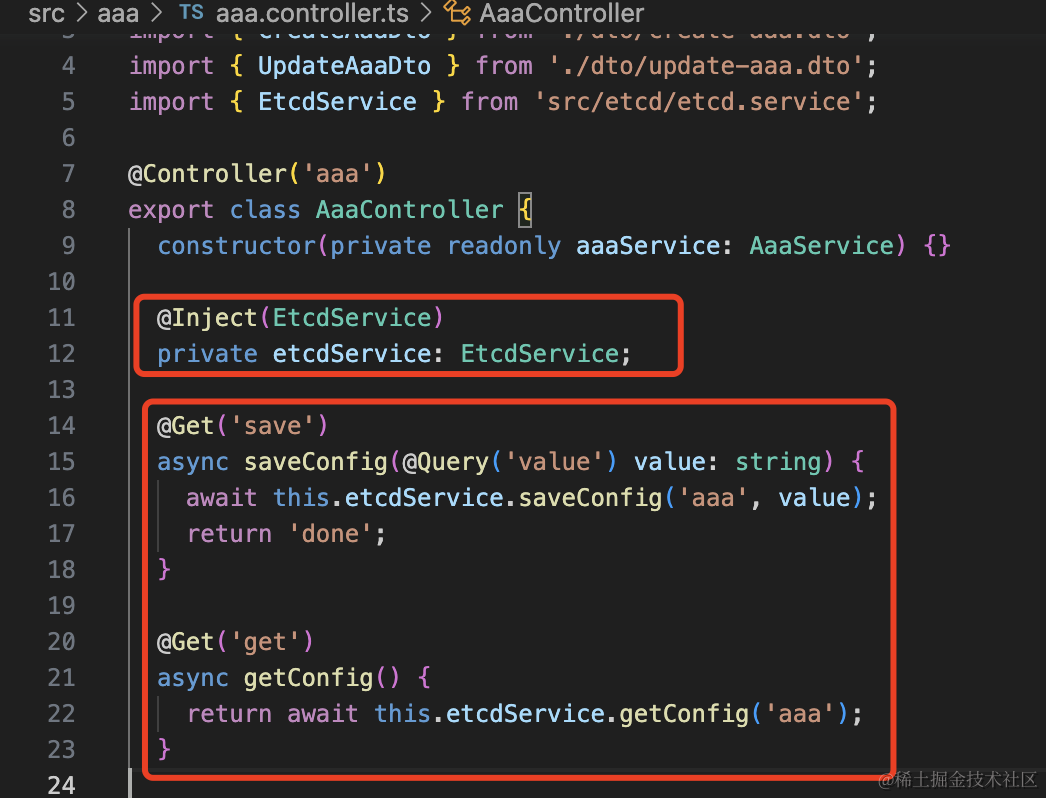
@Inject(EtcdService)
private etcdService: EtcdService;

@Get('save')
async saveConfig(@Query('value') value: string) {
    await this.etcdService.saveConfig('aaa', value);
    return 'done';
}

@Get('get')
async getConfig() {
    return await this.etcdService.getConfig('aaa');
}
测试下:
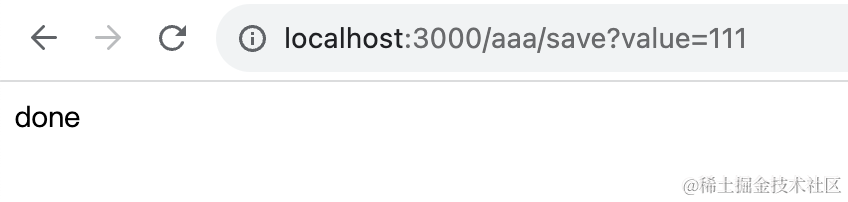
没啥问题。
不过现在 EtcdModule 是普通的模块,我们改成动态模块:
import { DynamicModule, Module, ModuleMetadata, Type } from "@nestjs/common";
import { EtcdService } from "./etcd.service";
import { Etcd3, IOptions } from "etcd3";

export const ETCD_CLIENT_TOKEN = "ETCD_CLIENT";

export const ETCD_CLIENT_OPTIONS_TOKEN = "ETCD_CLIENT_OPTIONS";

@Module({})
export class EtcdModule {
    static forRoot(options?: IOptions): DynamicModule {
        return {
            module: EtcdModule,
            providers: [
                EtcdService,
                {
                    provide: ETCD_CLIENT_TOKEN,
                    useFactory(options: IOptions) {
                        const client = new Etcd3(options);
                        return client;
                    },
                    inject: [ETCD_CLIENT_OPTIONS_TOKEN],
                },
                {
                    provide: ETCD_CLIENT_OPTIONS_TOKEN,
                    useValue: options,
                },
            ],
            exports: [EtcdService],
        };
    }
}
把 EtcdModule 改成动态模块的方式,加一个 forRoot 方法。
把传入的 options 作为一个 provider,然后再创建 etcd client 作为一个 provider。
然后 AaaModule 引入 EtcdModule 的方式也改下:
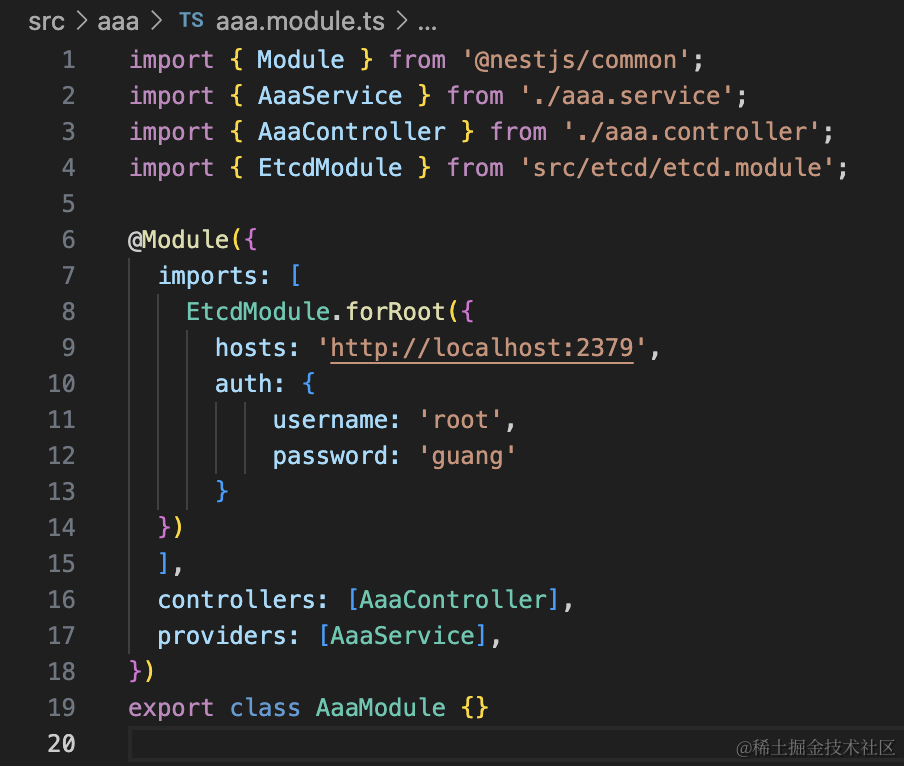
用起来是一样的:
但是现在 etcd 的参数是动态传入的了,这就是动态模块的好处。
当然,一般动态模块都有 forRootAsync,我们也加一下:
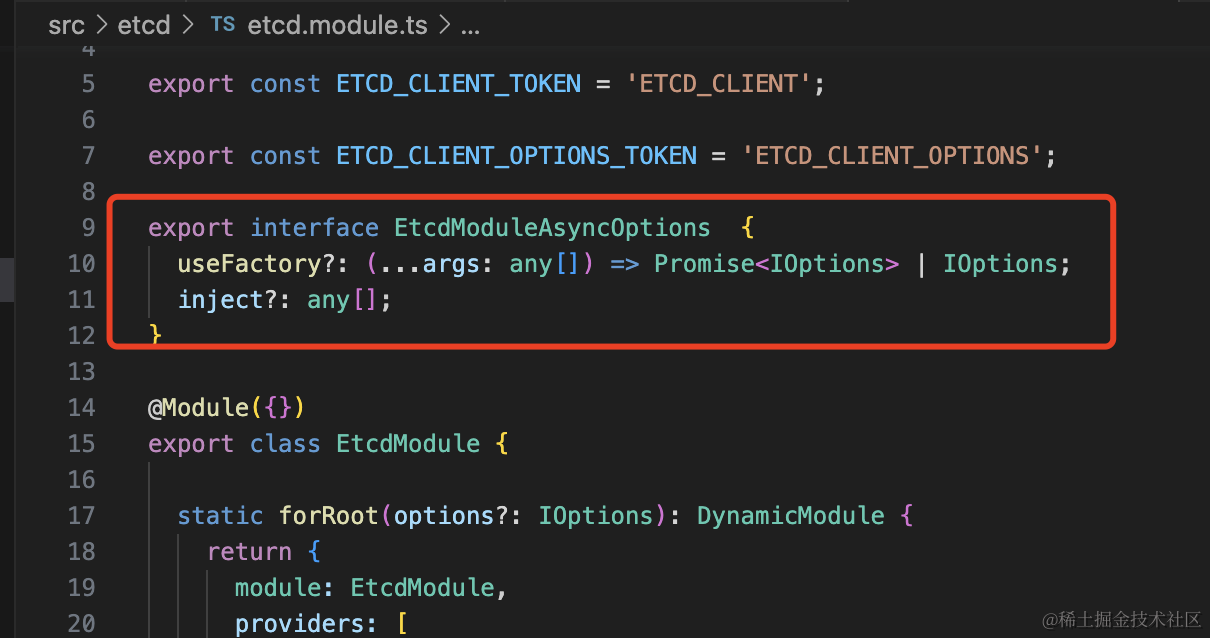
export interface EtcdModuleAsyncOptions {
    useFactory?: (...args: any[]) => Promise<IOptions> | IOptions;
    inject?: any[];
}
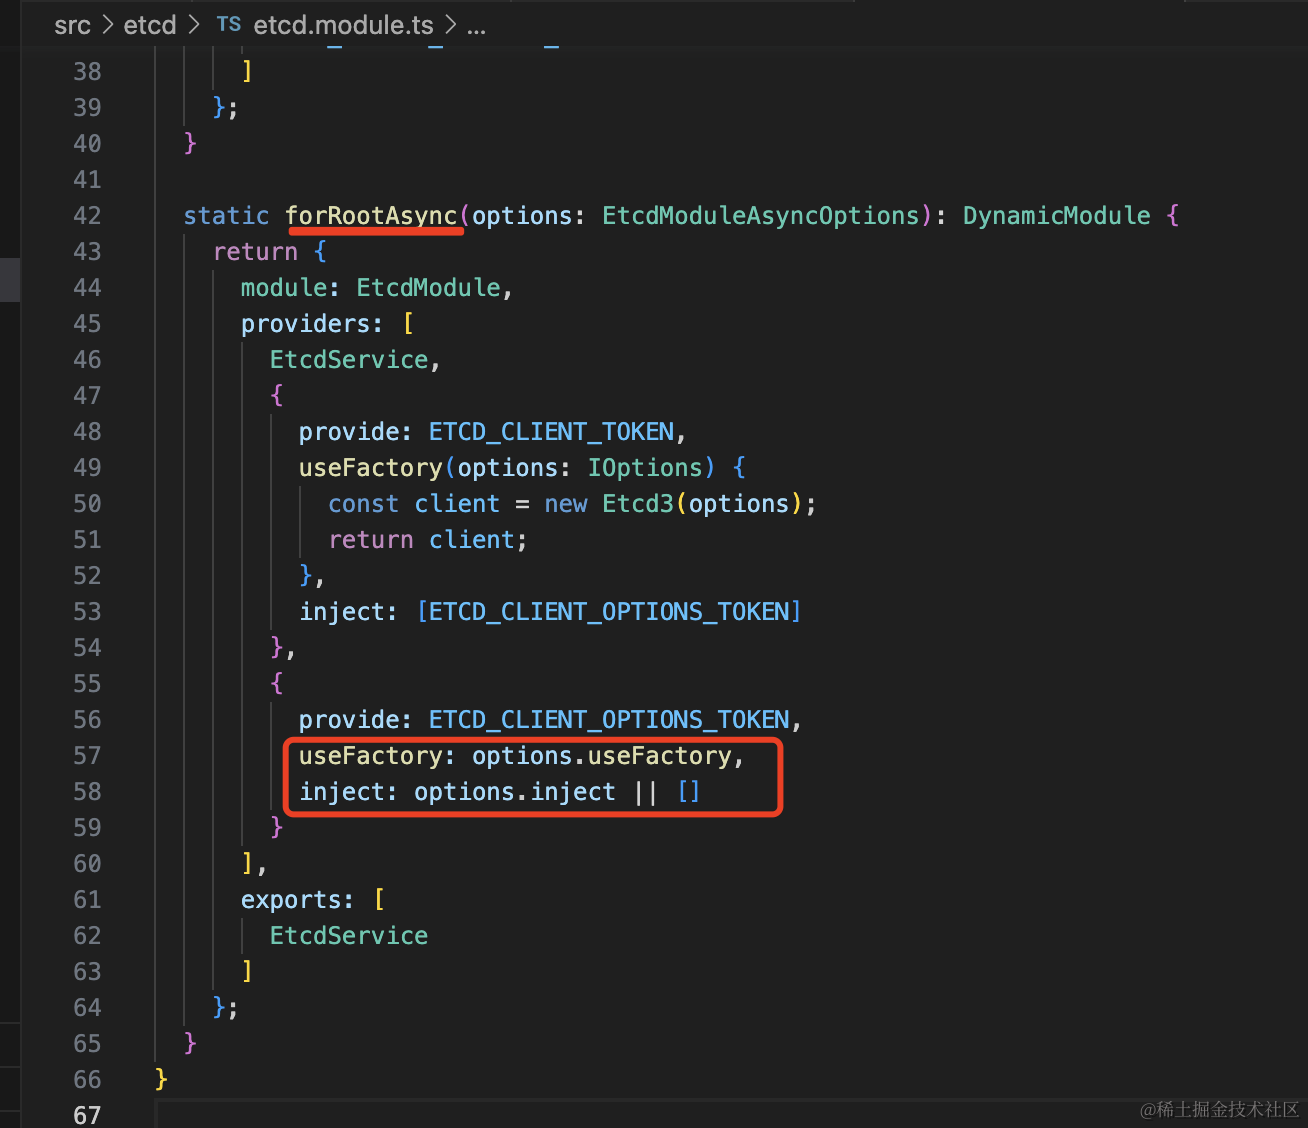
static forRootAsync(options: EtcdModuleAsyncOptions): DynamicModule {
    return {
      module: EtcdModule,
      providers: [
        EtcdService,
        {
          provide: ETCD_CLIENT_TOKEN,
          useFactory(options: IOptions) {
            const client = new Etcd3(options);
            return client;
          },
          inject: [ETCD_CLIENT_OPTIONS_TOKEN]
        },
        {
          provide: ETCD_CLIENT_OPTIONS_TOKEN,
          useFactory: options.useFactory,
          inject: options.inject || []
        }
      ],
      exports: [
        EtcdService
      ]
    };
}
和 forRoot 的区别就是现在的 options 的 provider 是通过 useFactory 的方式创建的,之前是直接传入。
现在就可以这样传入 options 了:
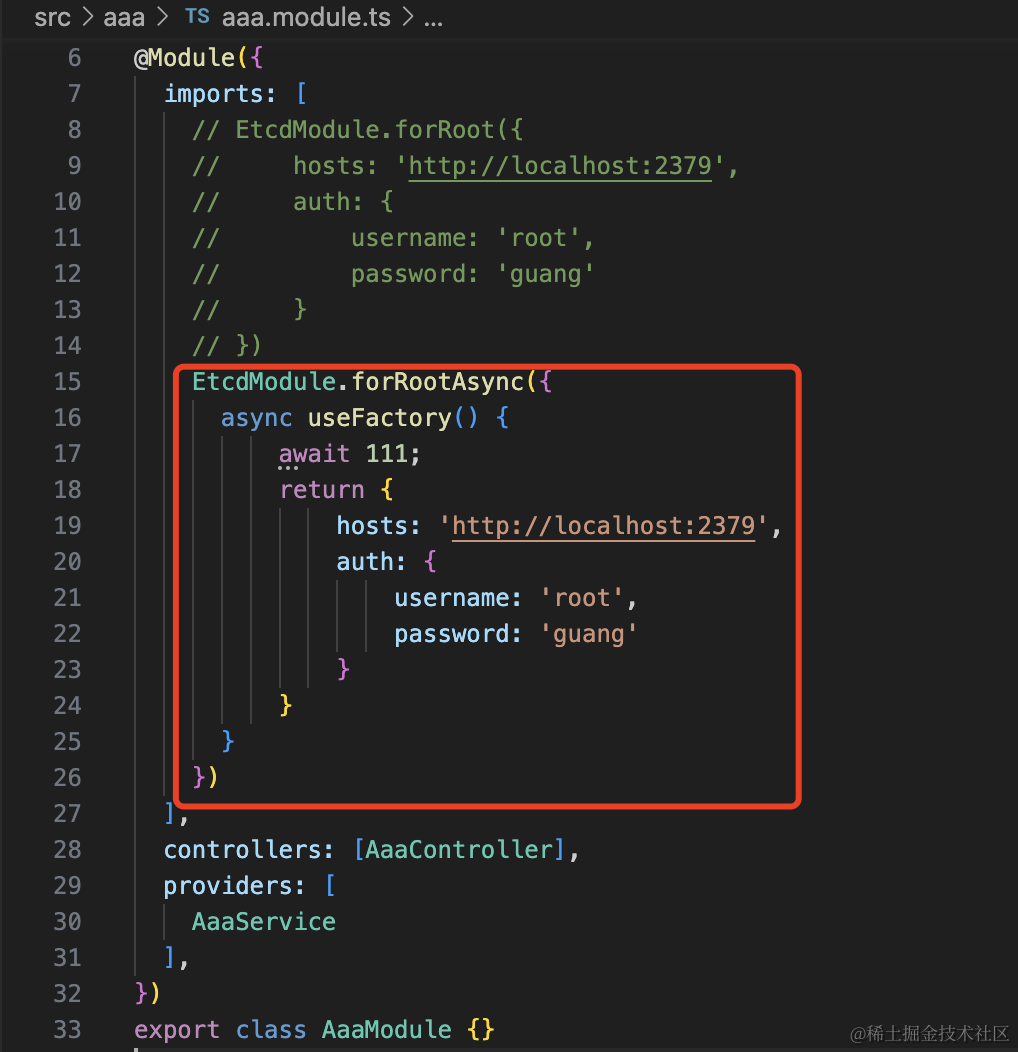
EtcdModule.forRootAsync({
    async useFactory() {
        await 111;
        return {
            hosts: "http://localhost:2379",
            auth: {
                username: "root",
                password: "guang",
            },
        };
    },
});
我们安装下 config 的包
npm install @nestjs/config
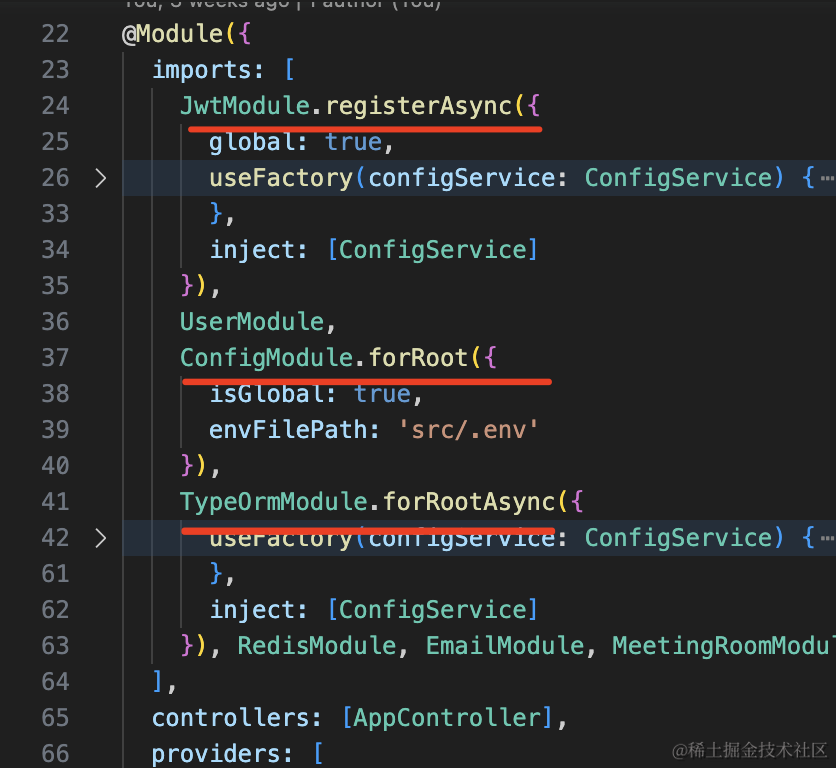
在 AppModule 引入 ConfigModule:
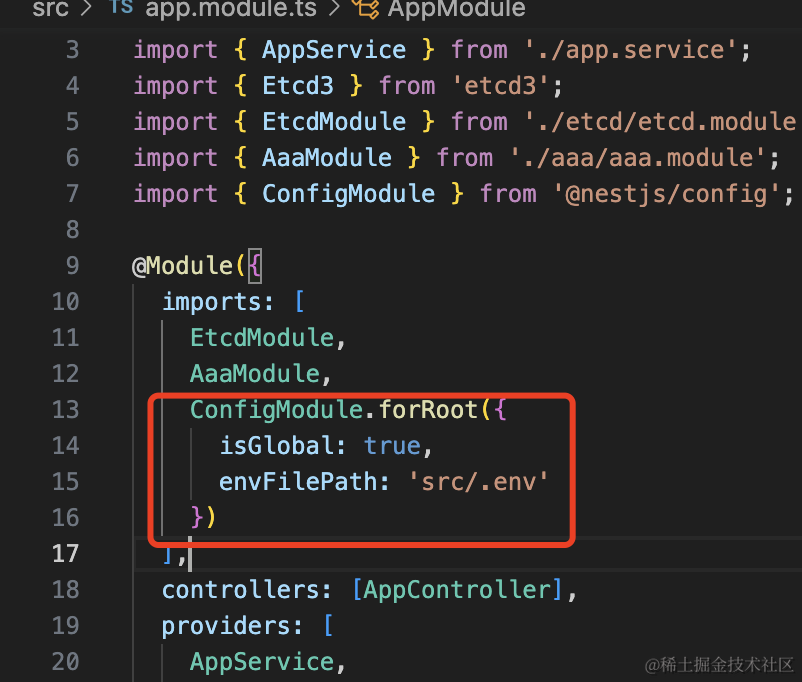
ConfigModule.forRoot({
    isGlobal: true,
    envFilePath: "src/.env",
});
添加对应的 src/.env
etcd_hosts=http://localhost:2379
etcd_auth_username=root
etcd_auth_password=guang
然后在引入 EtcdModule 的时候,从 ConfigService 拿配置:
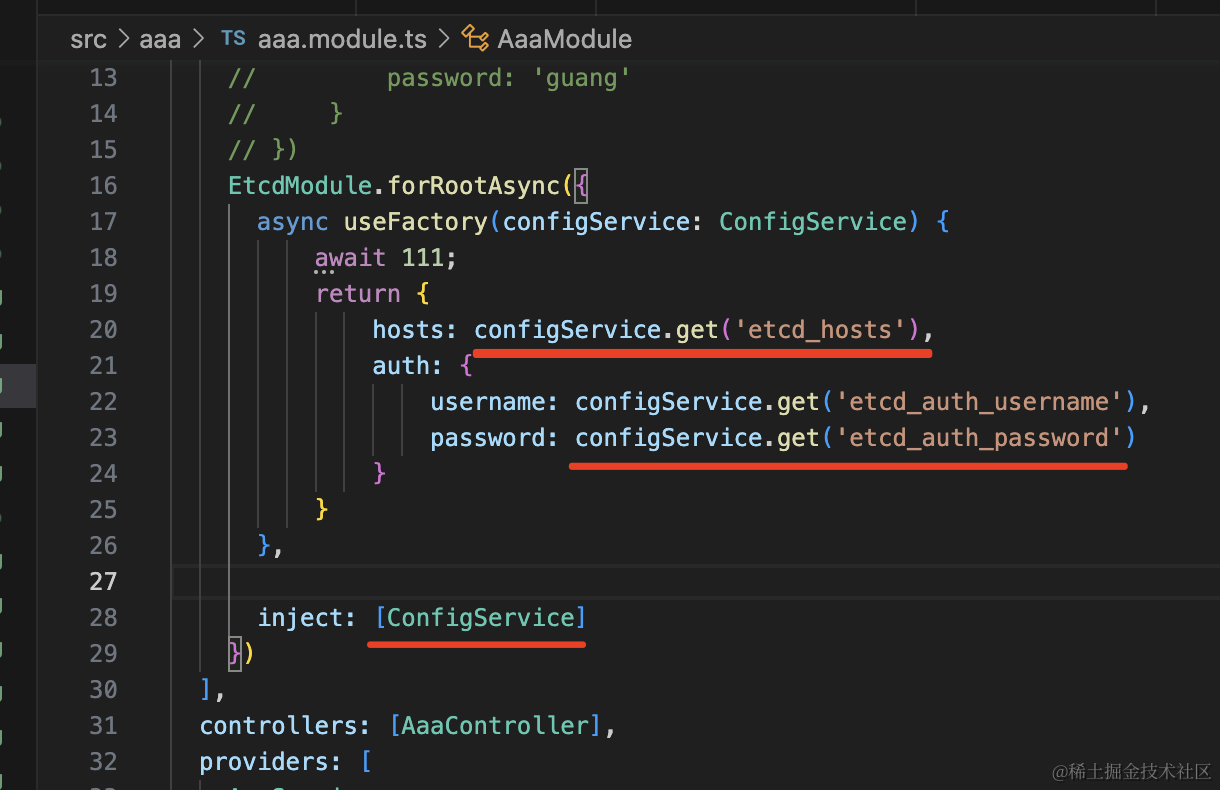
EtcdModule.forRootAsync({
    async useFactory(configService: ConfigService) {
        await 111;
        return {
            hosts: configService.get("etcd_hosts"),
            auth: {
                username: configService.get("etcd_auth_username"),
                password: configService.get("etcd_auth_password"),
            },
        };
    },
    inject: [ConfigService],
});
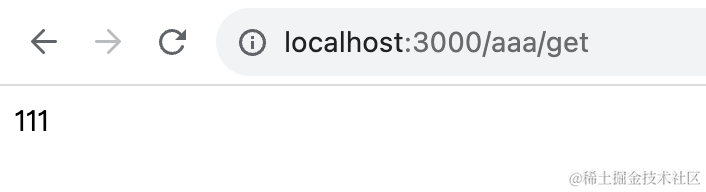
测试下:
功能正常。
这样,EtcdModule.forRootAsync 就成功实现了。
案例代码上传了小册仓库。
总结
这节我们做了 Nest 和 etcd 的集成。
或者加一个 provider 创建连接,然后直接注入 etcdClient 来 put、get、del、watch。
或者再做一步,封装一个动态模块来用,用的时候再传入连接配置
和集成 Redis 的时候差不多。
注册中心和配置中心是微服务体系必不可少的组件,后面会大量用到。