聊天室:用户登录
这节我们实现下登录。
在 UserController 添加一个 login 的路由:
@Post('login')
async userLogin(@Body() loginUser: LoginUserDto) {
    console.log(loginUser);
    return 'success';
}
创建 src/user/dto/login-user.dto.ts:
import { IsNotEmpty } from "class-validator";

export class LoginUserDto {
    @IsNotEmpty({
        message: "用户名不能为空",
    })
    username: string;

    @IsNotEmpty({
        message: "密码不能为空",
    })
    password: string;
}
测试下:
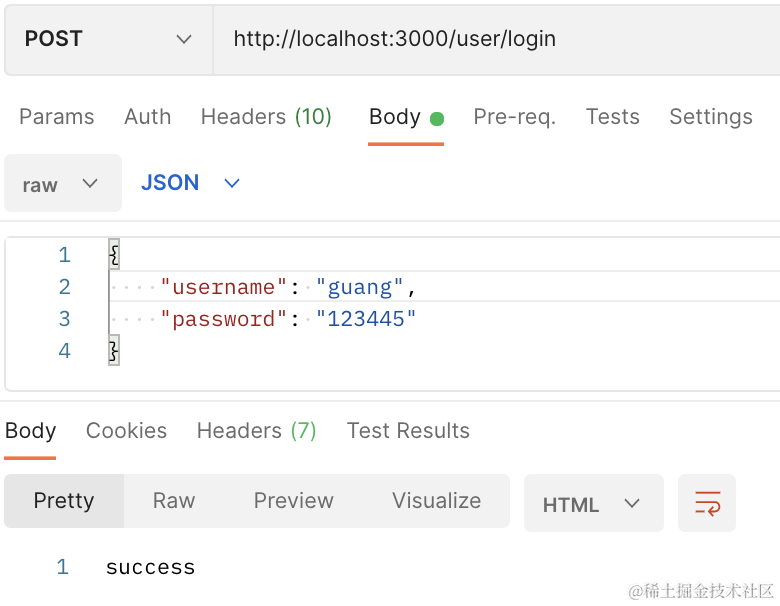

服务端打印了接收的参数。
ValidationPipe 开启 transform: true
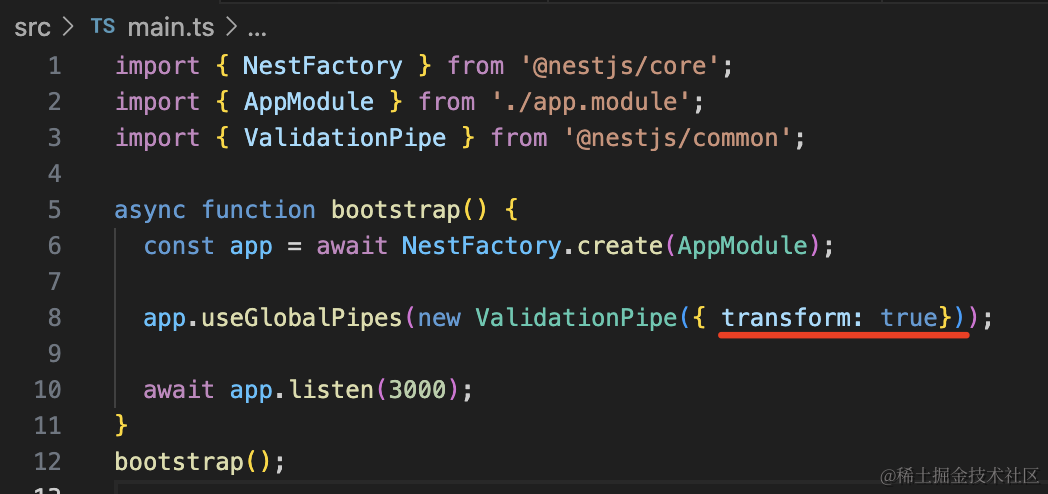
再次访问:
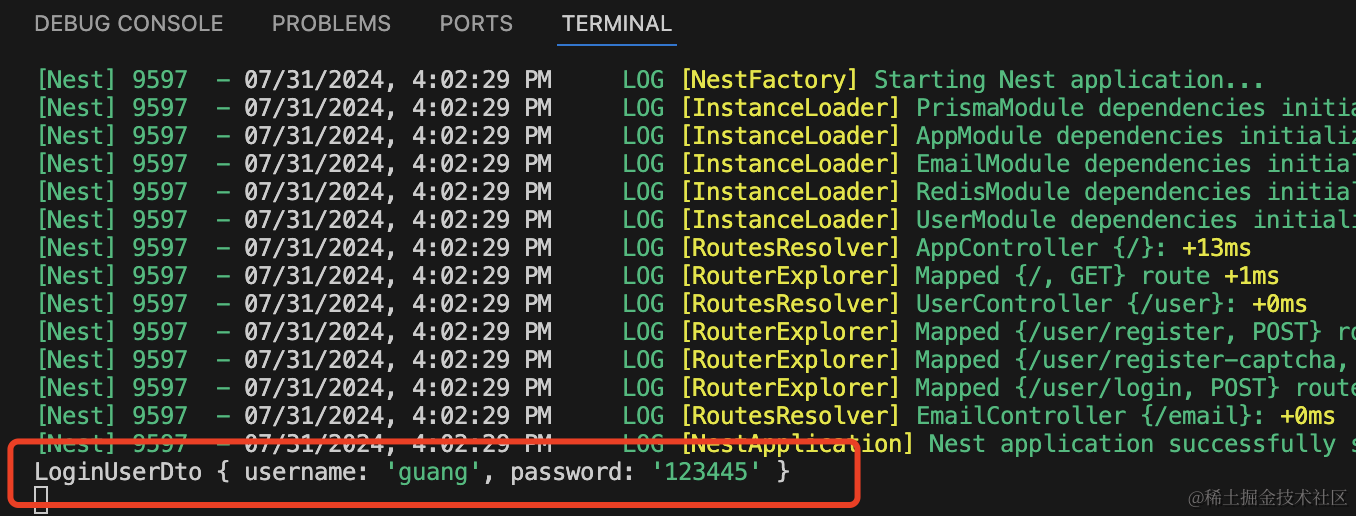
这样会把参数转为 dto 的实例。
然后在 UserService 实现 login 方法:
async login(loginUserDto: LoginUserDto) {
  const foundUser = await this.prismaService.user.findUnique({
    where: {
      username: loginUserDto.username
    }
  });

  if(!foundUser) {
      throw new HttpException('用户不存在', HttpStatus.BAD_REQUEST);
  }

  if(foundUser.password !== loginUserDto.password) {
      throw new HttpException('密码错误', HttpStatus.BAD_REQUEST);
  }

  delete foundUser.password;
  return foundUser;
}
为了开发方便,我们注册的时候没有对密码做加密,登录的时候也就不用加密了。
在 UserController 里调用下:
@Post('login')
async userLogin(@Body() loginUser: LoginUserDto) {
    const user = await this.userService.login(loginUser);

    return user;
}
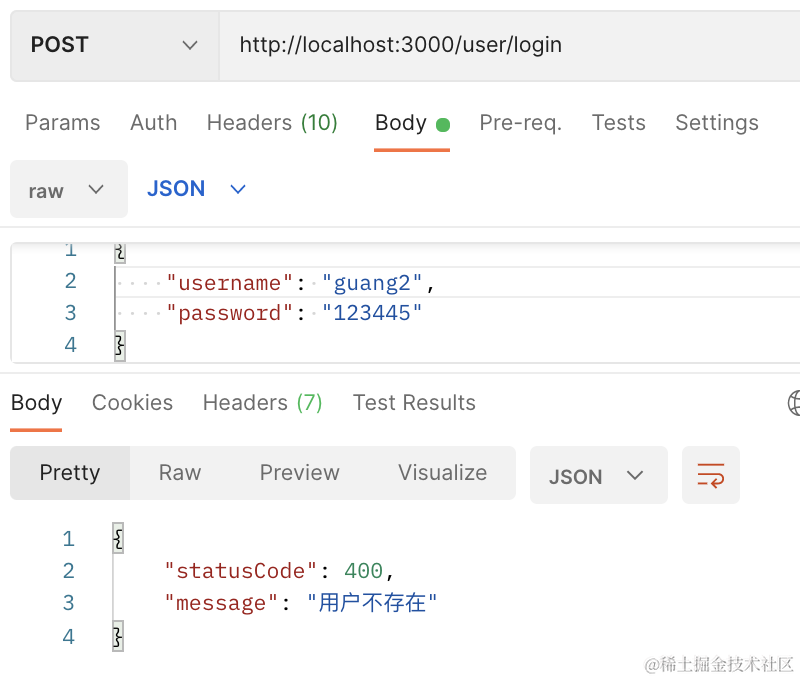
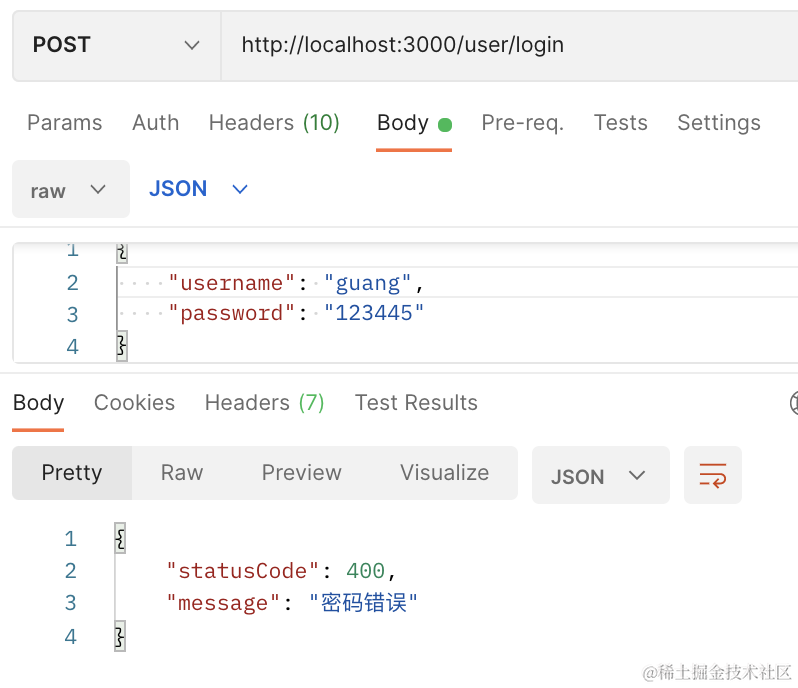
测试下:
当用户名不存在时:
当密码错误时:
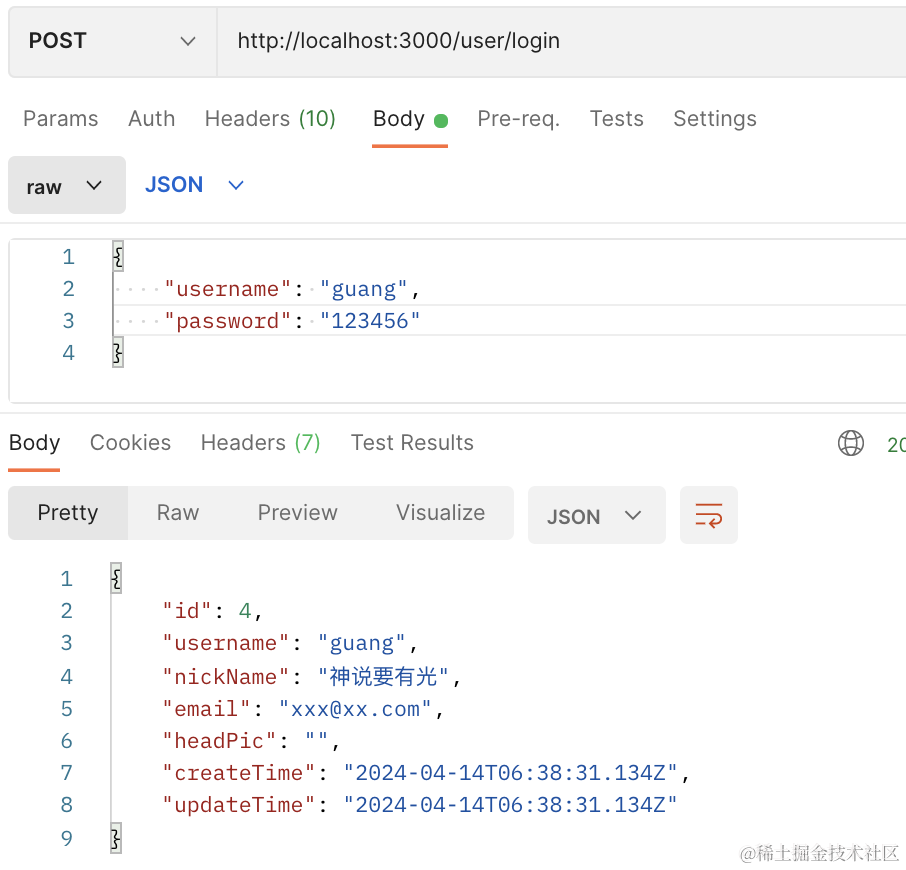
登录成功:
登录成功之后我们要返回 jwt。
引入下 jwt 的包:
npm install --save @nestjs/jwt
在 AppModule 里引入:
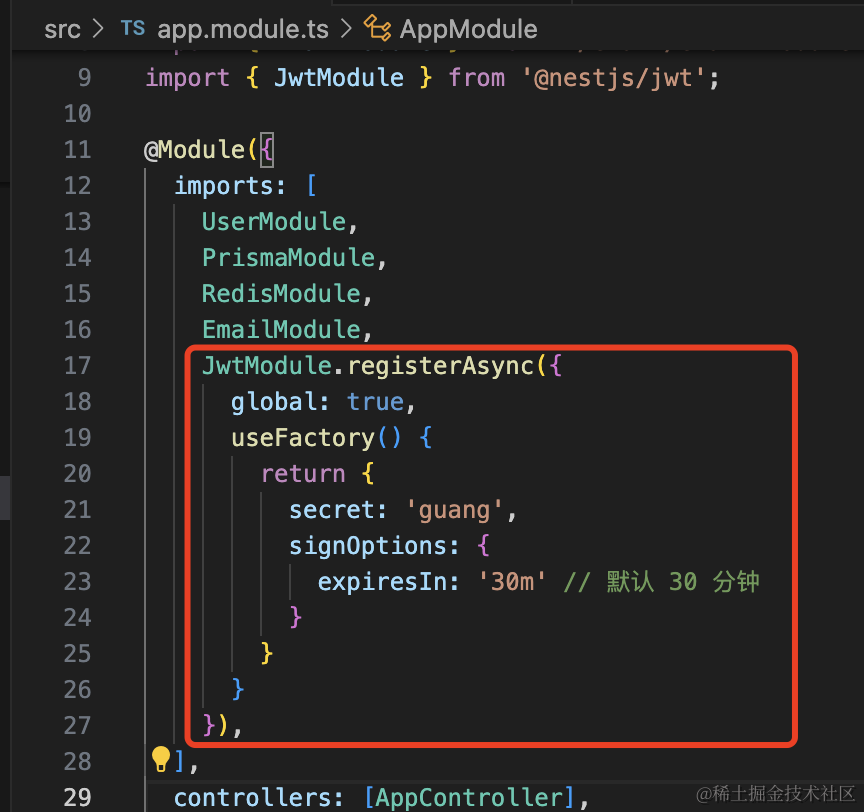
JwtModule.registerAsync({
  global: true,
  useFactory() {
    return {
      secret: 'guang',
      signOptions: {
        expiresIn: '30m' // 默认 30 分钟
      }
    }
  }
}),
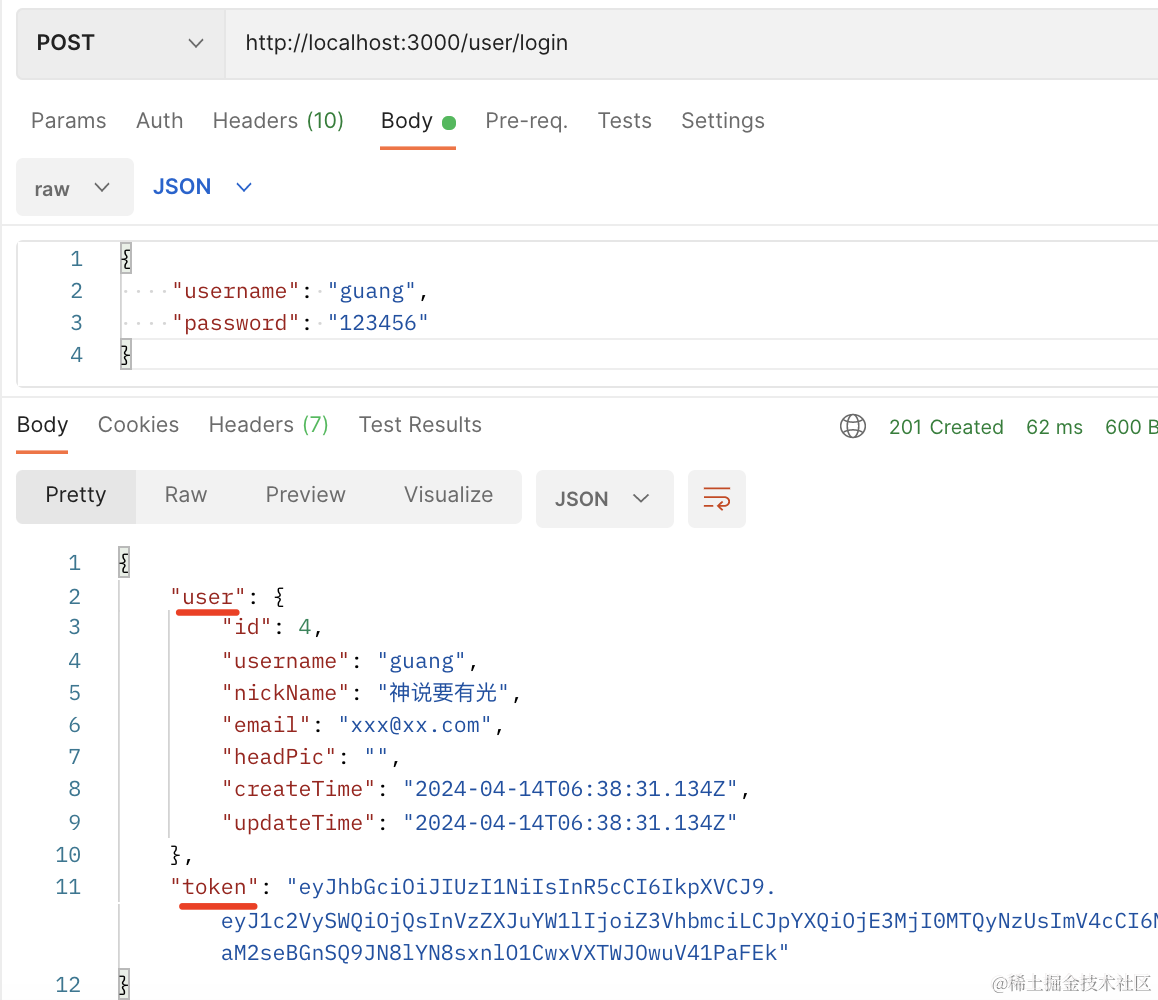
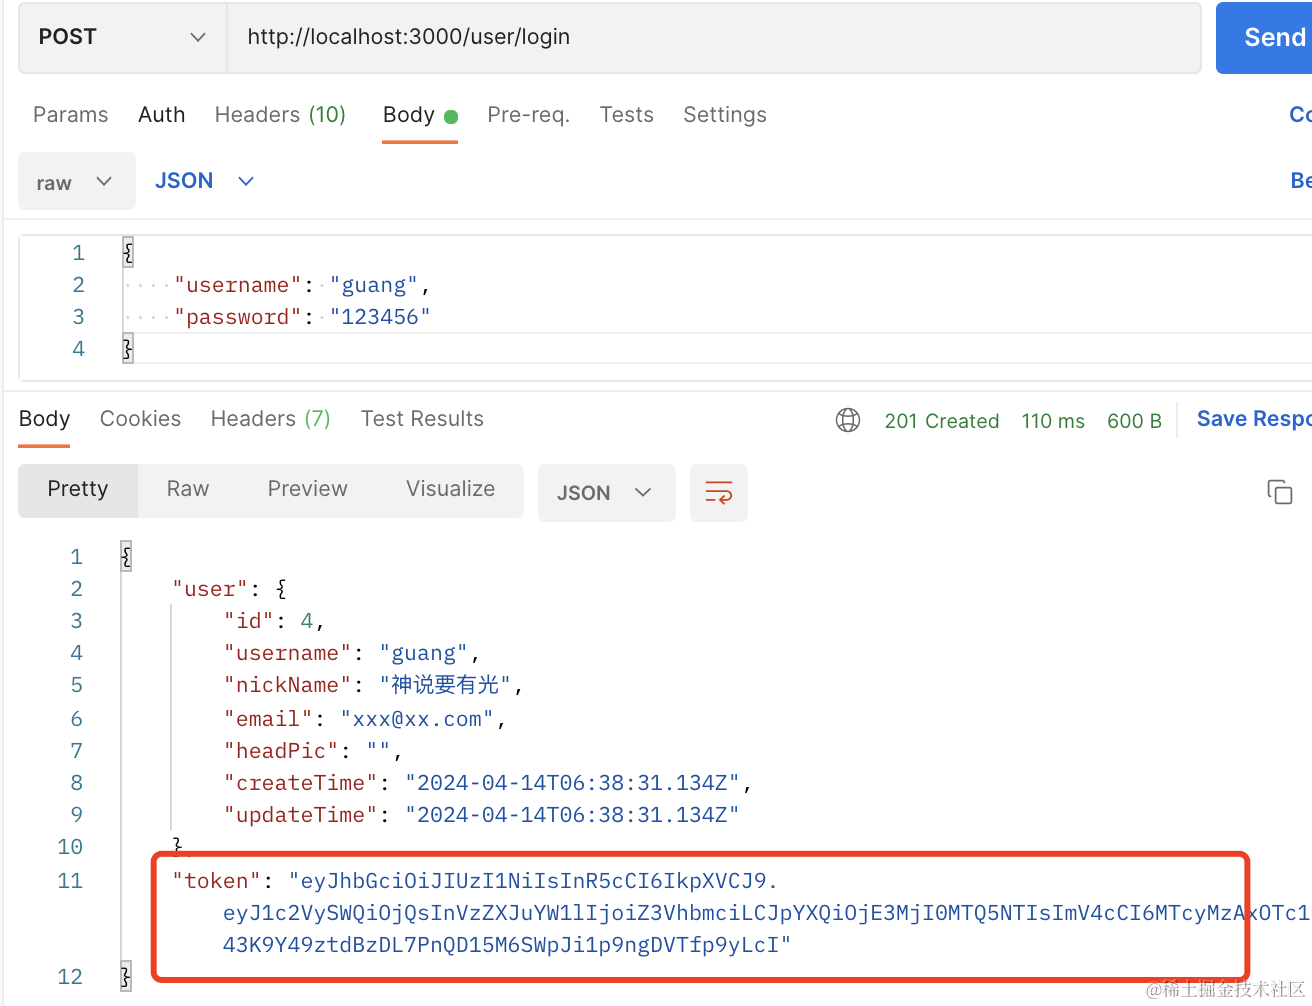
然后登录成功之后返回 token:
@Inject(JwtService)
private jwtService: JwtService;

@Post('login')
async userLogin(@Body() loginUser: LoginUserDto) {
    const user = await this.userService.login(loginUser);

    return {
      user,
      token: this.jwtService.sign({
        userId: user.id,
        username: user.username
      }, {
        expiresIn: '7d'
      })
    };
}
token 过期时间是 7 天。
测试下:
我们这里就不用双 token 的方式来刷新了,而是用单 token 无限续期来做。
也就是当访问接口的时候,就返回一个新的 token。
这样只要它在 token 过期之前,也就是 7 天内访问了一次系统,那就会刷新换成新 token。
超过 7 天没访问,那就需要重新登录了。
然后我们加上 AuthGuard 来做登录鉴权:
nest g guard auth --flat --no-spec

AuthGuard 的实现代码如下:
import {
    CanActivate,
    ExecutionContext,
    Inject,
    Injectable,
    UnauthorizedException,
} from "@nestjs/common";
import { Reflector } from "@nestjs/core";
import { JwtService } from "@nestjs/jwt";
import { Request } from "express";
import { Observable } from "rxjs";

interface JwtUserData {
    userId: number;
    username: string;
}

declare module "express" {
    interface Request {
        user: JwtUserData;
    }
}

@Injectable()
export class AuthGuard implements CanActivate {
    @Inject()
    private reflector: Reflector;

    @Inject(JwtService)
    private jwtService: JwtService;

    canActivate(
        context: ExecutionContext
    ): boolean | Promise<boolean> | Observable<boolean> {
        const request: Request = context.switchToHttp().getRequest();

        const requireLogin = this.reflector.getAllAndOverride("require-login", [
            context.getClass(),
            context.getHandler(),
        ]);

        if (!requireLogin) {
            return true;
        }

        const authorization = request.headers.authorization;

        if (!authorization) {
            throw new UnauthorizedException("用户未登录");
        }

        try {
            const token = authorization.split(" ")[1];
            const data = this.jwtService.verify<JwtUserData>(token);

            request.user = {
                userId: data.userId,
                username: data.username,
            };
            return true;
        } catch (e) {
            throw new UnauthorizedException("token 失效,请重新登录");
        }
    }
}
用 reflector 从目标 controller 和 handler 上拿到 require-login 的 metadata。
如果没有 metadata,就是不需要登录,返回 true 放行。
否则从 authorization 的 header 取出 jwt 来,把用户信息设置到 request,然后放行。
如果 jwt 无效,返回 401 响应,提示 token 失效,请重新登录。
然后全局启用这个 Guard,在 AppModule 里添加这个 provider:
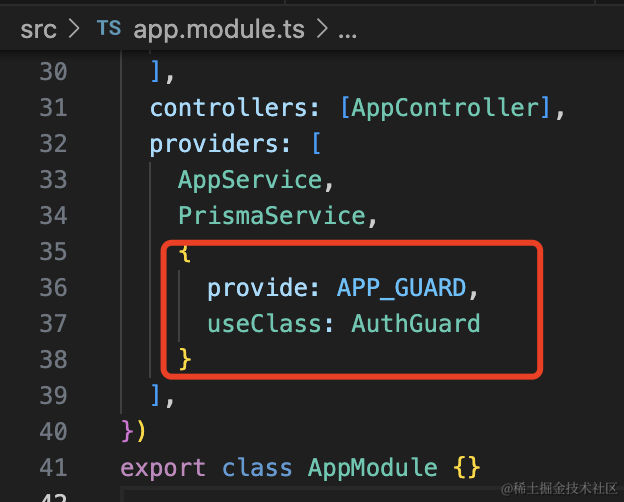
{
  provide: APP_GUARD,
  useClass: AuthGuard
}
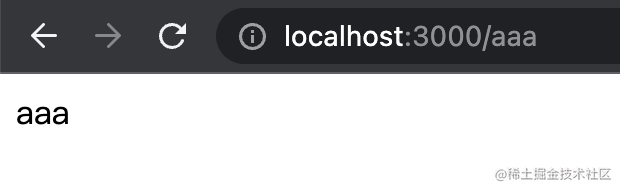
在 AppController 添加 aaa、bbb 两个接口:
@Get('aaa')
aaa() {
return 'aaa';
}
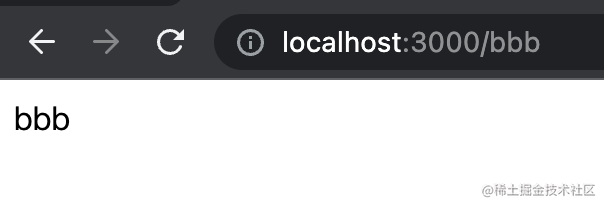
@Get('bbb')
bbb() {
return 'bbb';
}
访问下:
然后在 aaa 加上 require-login 的 matadata
@Get('aaa')
@SetMetadata('require-login', true)
aaa() {
    return 'aaa';
}
会提示用户未登录:

而 bbb 还是可以直接访问的:
登录下,拿到 token:
添加到 authorization 的 header 里,就可以访问了:

我们把这个 @SetMetadata 封装成自定义装饰器
新建 src/custom.decorator.ts
import { SetMetadata } from "@nestjs/common";

export const RequireLogin = () => SetMetadata("require-login", true);
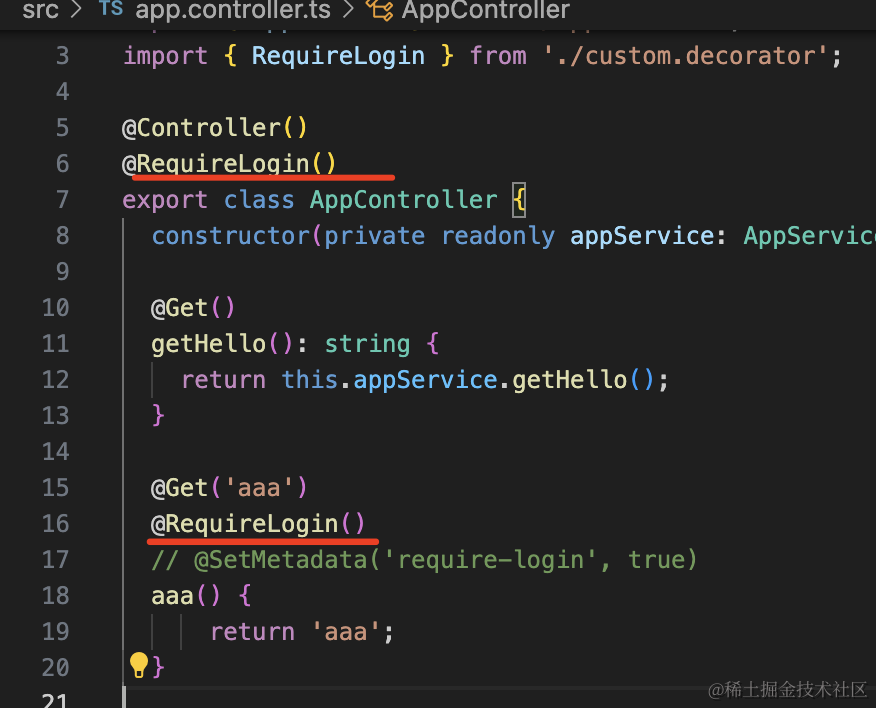
然后就可以通过在 controller 或者 handler 上的 @RequiredLogin 来声明接口需要登录了:
再实现个自定义参数装饰器来取 request.user
import { SetMetadata } from "@nestjs/common";
import { createParamDecorator, ExecutionContext } from "@nestjs/common";
import { Request } from "express";

export const RequireLogin = () => SetMetadata("require-login", true);

export const UserInfo = createParamDecorator(
    (data: string, ctx: ExecutionContext) => {
        const request = ctx.switchToHttp().getRequest<Request>();

        if (!request.user) {
            return null;
        }
        return data ? request.user[data] : request.user;
    }
);
在 aaa 方法里测试下:
@Get('aaa')
@RequireLogin()
// @SetMetadata('require-login', true)
aaa(@UserInfo() userInfo, @UserInfo('username') username) {
    console.log(userInfo, username);
    return 'aaa';
}
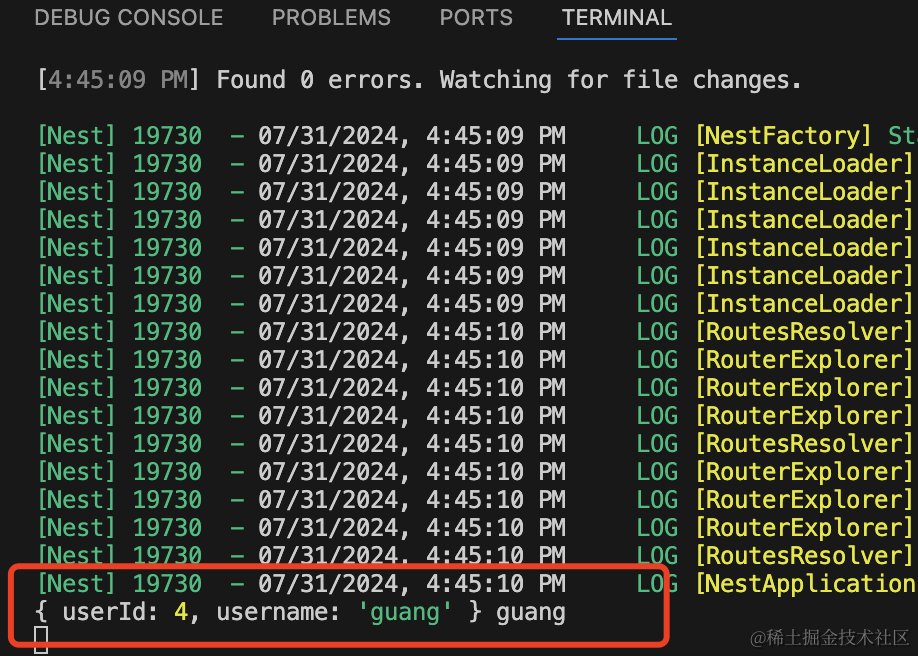
这样,就完成了登录和鉴权。
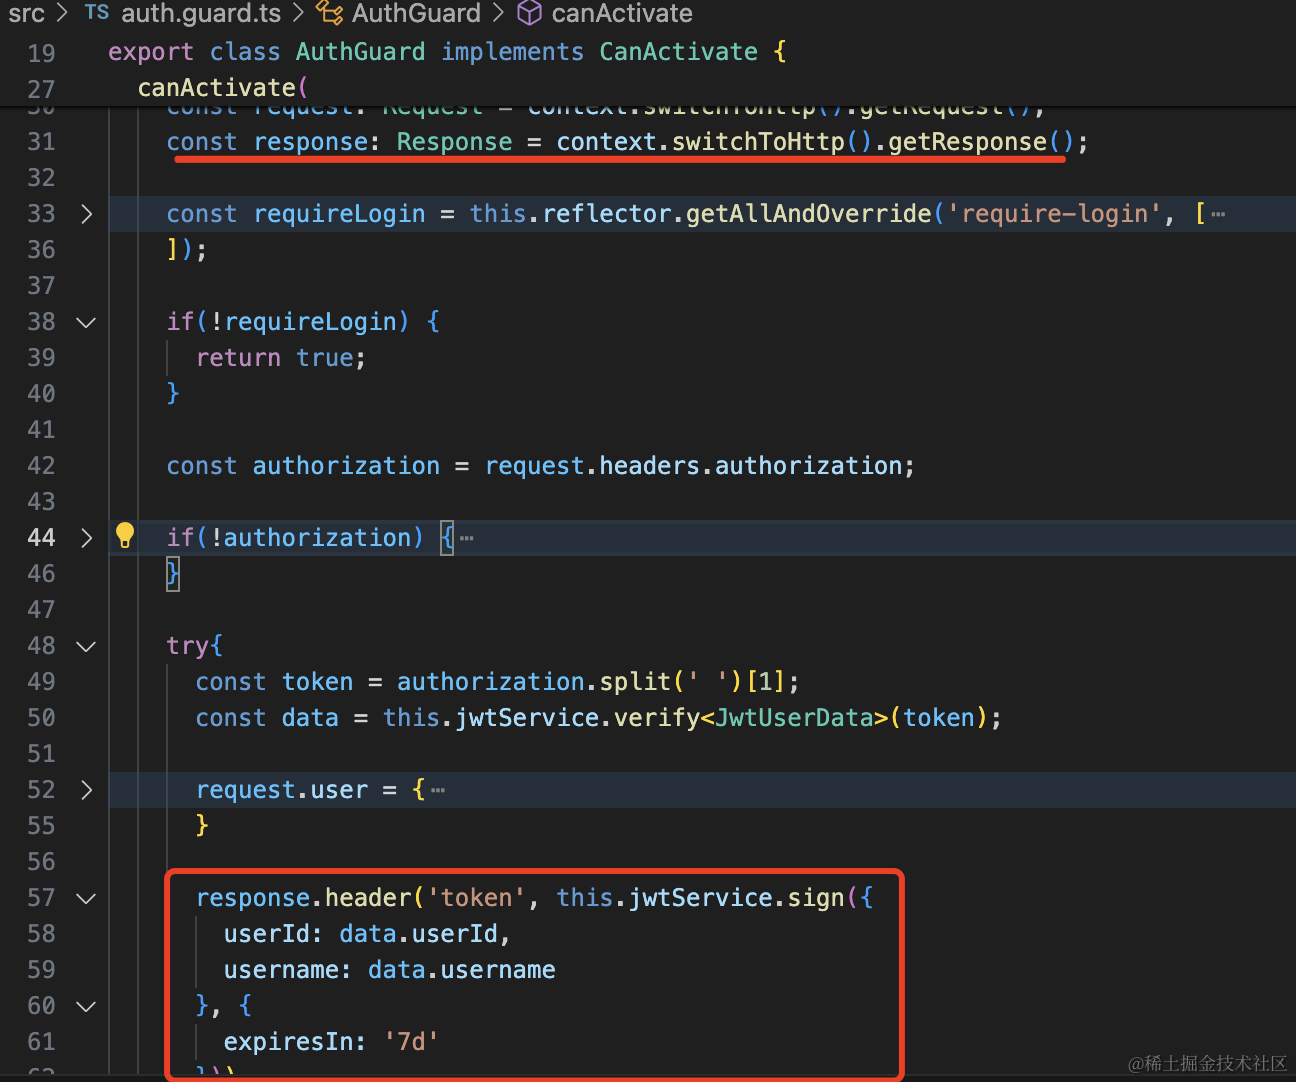
还有 token 自动续期没有做,这个就是访问接口之后,在 header 或者 body 里额外返回新 token。
import {
    CanActivate,
    ExecutionContext,
    Inject,
    Injectable,
    UnauthorizedException,
} from "@nestjs/common";
import { Reflector } from "@nestjs/core";
import { JwtService } from "@nestjs/jwt";
import { Request, Response } from "express";
import { Observable } from "rxjs";

interface JwtUserData {
    userId: number;
    username: string;
}

declare module "express" {
    interface Request {
        user: JwtUserData;
    }
}

@Injectable()
export class AuthGuard implements CanActivate {
    @Inject()
    private reflector: Reflector;

    @Inject(JwtService)
    private jwtService: JwtService;

    canActivate(
        context: ExecutionContext
    ): boolean | Promise<boolean> | Observable<boolean> {
        const request: Request = context.switchToHttp().getRequest();
        const response: Response = context.switchToHttp().getResponse();

        const requireLogin = this.reflector.getAllAndOverride("require-login", [
            context.getClass(),
            context.getHandler(),
        ]);

        if (!requireLogin) {
            return true;
        }

        const authorization = request.headers.authorization;

        if (!authorization) {
            throw new UnauthorizedException("用户未登录");
        }

        try {
            const token = authorization.split(" ")[1];
            const data = this.jwtService.verify<JwtUserData>(token);

            request.user = {
                userId: data.userId,
                username: data.username,
            };

            response.header(
                "token",
                this.jwtService.sign(
                    {
                        userId: data.userId,
                        username: data.username,
                    },
                    {
                        expiresIn: "7d",
                    }
                )
            );

            return true;
        } catch (e) {
            console.log(e);
            throw new UnauthorizedException("token 失效,请重新登录");
        }
    }
}
再访问下 aaa 接口:
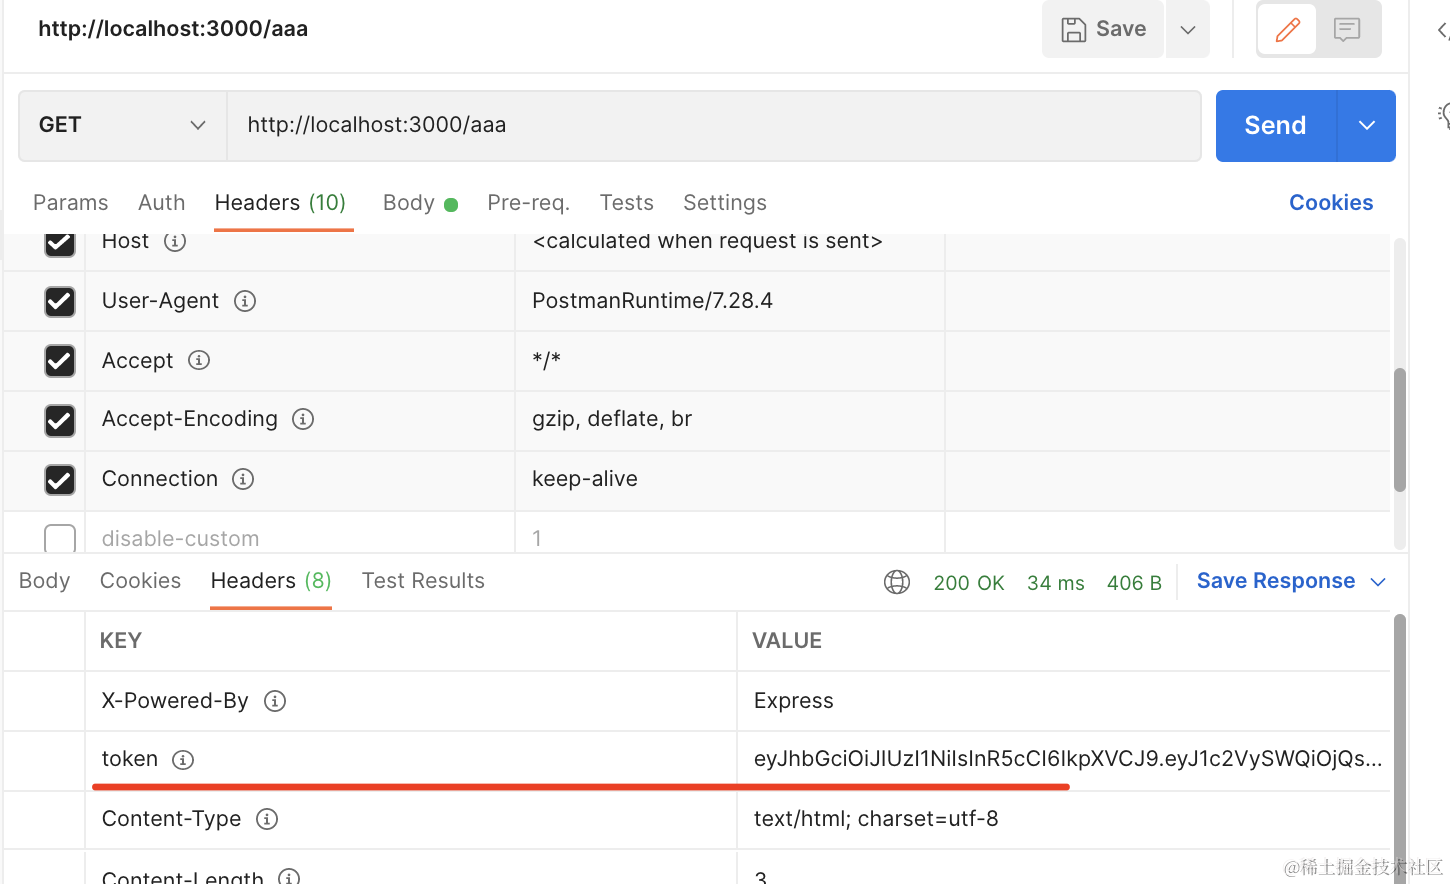
可以看到返回了新 token。
这样只要访问需要登录的接口,就会刷新 token。
比双token 的方案简单多了,很多公司就是这样做的。
代码在小册仓库。
总结
这节我们实现了登录、鉴权。
添加了 /user/login 接口来实现登录,登录后返回 jwt token。
访问的时候在 Authorization 的 header 带上 jwt 的 token 就能通过 AuthGuard 的鉴权。
我们做了 token 的自动续期,也就是访问接口后在 header 返回新 token,这样比双 token 的方案简单。
然后封装了 @RequireLogin 和 @UserInfo 两个自定义装饰器。
登录之后,就可以访问一些需要 user 信息的接口了。