为什么不用 cache-manager 操作 Redis?
上节我们学了在 Nest 里操作 Redis,很多同学会问,为什么不用 cache-manager 呢?
官方文档里就是用的 cache-manger:
确实,cache-manger 有它好用的地方,但是它的缺点更多。
为什么这么说呢?
我们试一下就知道了:
nest new cache-manager-test
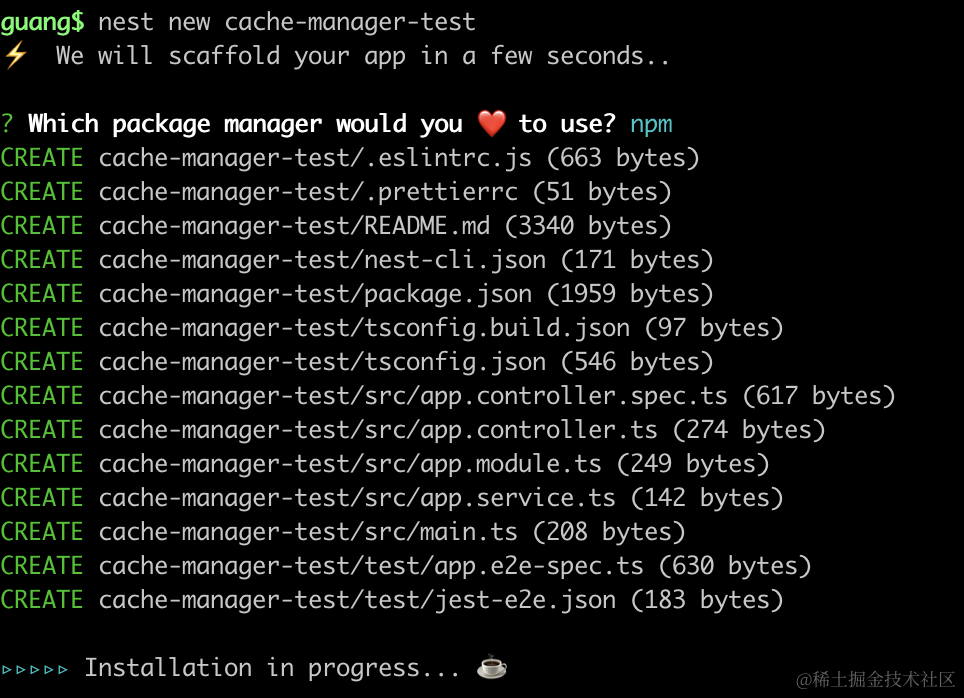
创建个 nest 项目。
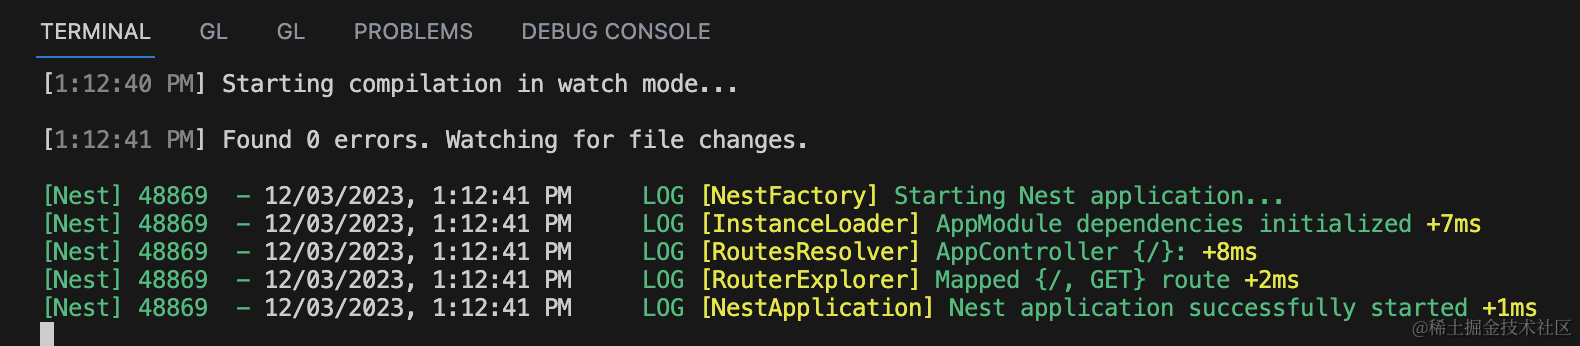
进入项目,把它跑起来:
npm run start:dev

然后引入 cache-manager:
npm install @nestjs/cache-manager cache-manager
在 AppModule 注册下:
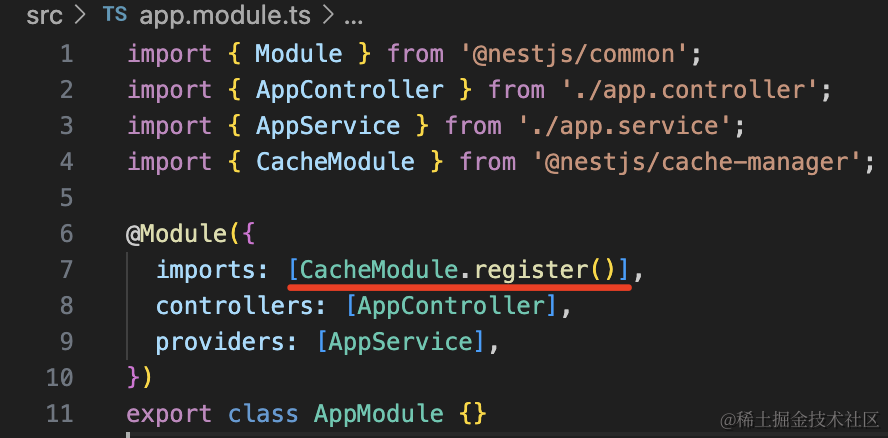
之后在 AppController 加几个路由:
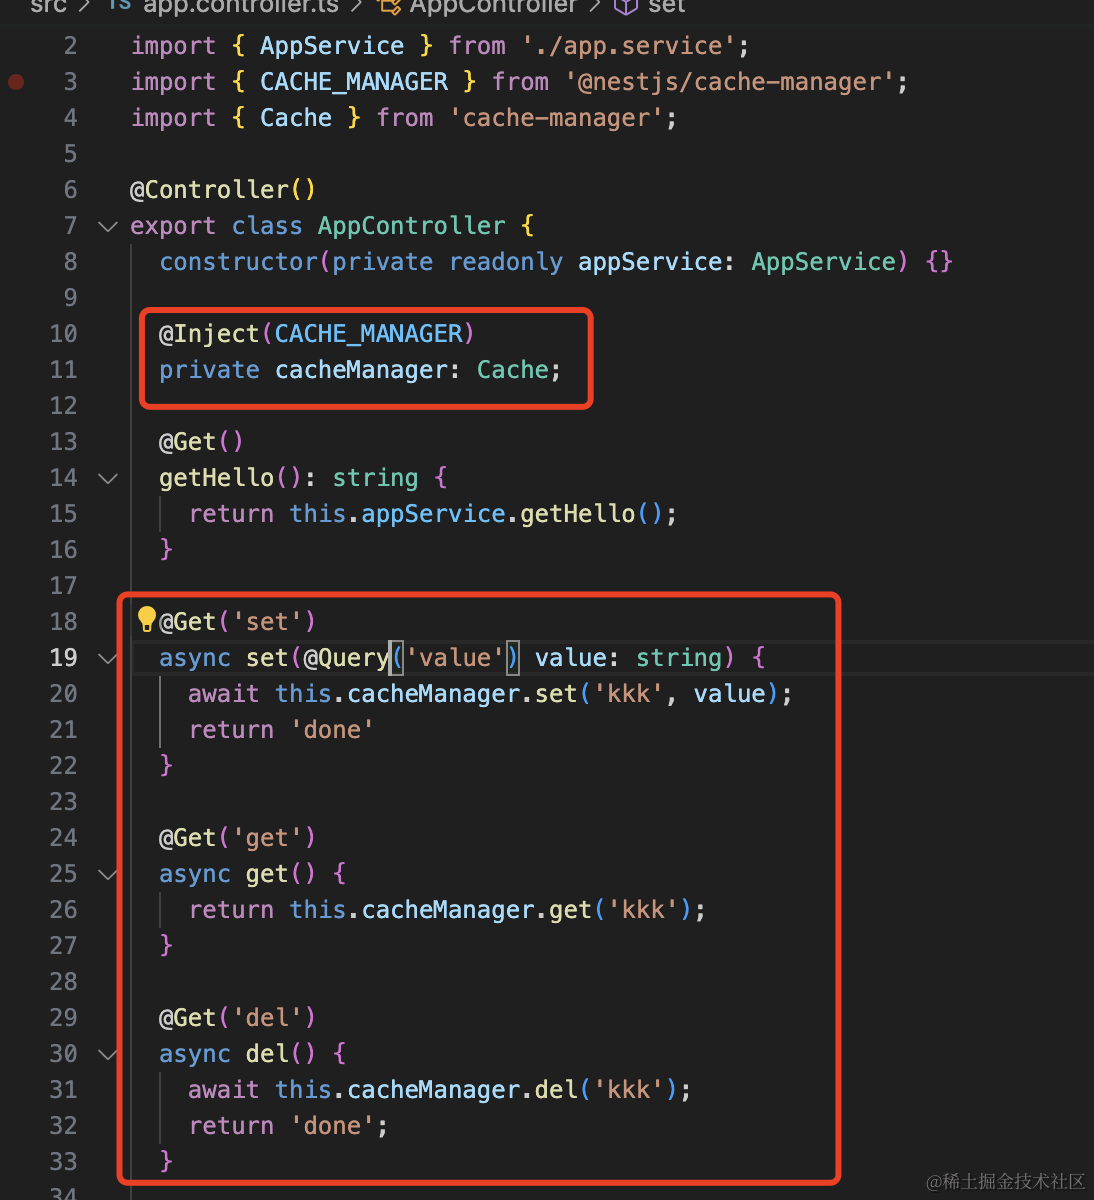
注入 CacheManager,分别测试下它的 get、set、del 方法。
import { Controller, Get, Inject, Param, Query } from "@nestjs/common";
import { AppService } from "./app.service";
import { CACHE_MANAGER } from "@nestjs/cache-manager";
import { Cache } from "cache-manager";

@Controller()
export class AppController {
    constructor(private readonly appService: AppService) {}

    @Inject(CACHE_MANAGER)
    private cacheManager: Cache;

    @Get()
    getHello(): string {
        return this.appService.getHello();
    }

    @Get("set")
    async set(@Query("value") value: string) {
        await this.cacheManager.set("kkk", value);
        return "done";
    }

    @Get("get")
    async get() {
        return this.cacheManager.get("kkk");
    }

    @Get("del")
    async del() {
        await this.cacheManager.del("kkk");
        return "done";
    }
}
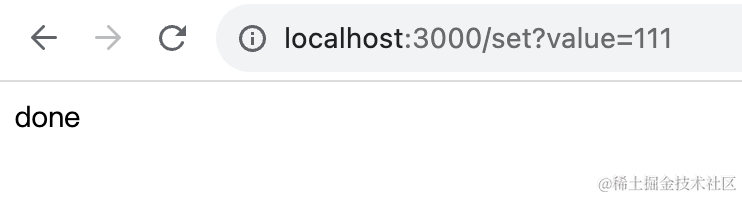
浏览器访问下:
首先 get 没有数据:

然后 set 设置为 111:
再次 get 就有数据了:

之后 del 删掉:

再次 get 就为空了:

这个缓存的用法很简单。
此外,你还可以把它加到 handler 上,自动对结果缓存。
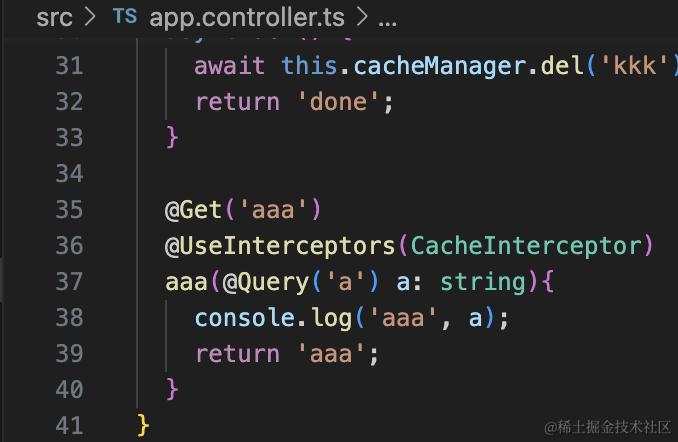
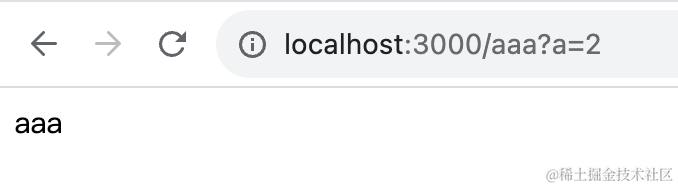
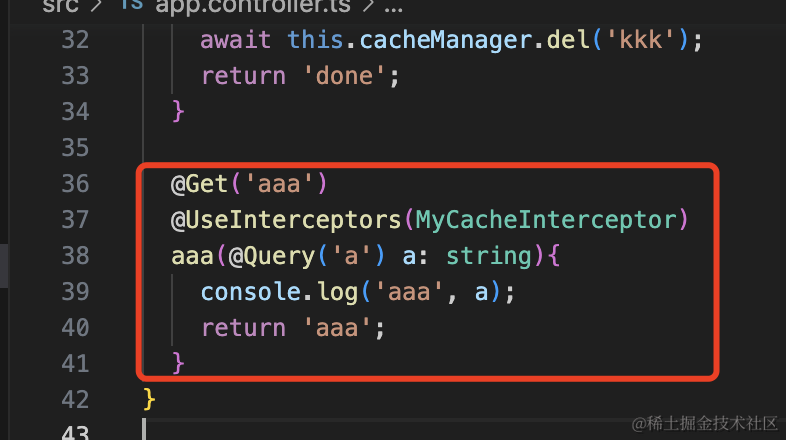
@Get('aaa')
@UseInterceptors(CacheInterceptor)
aaa(@Query('a') a: string){
    console.log('aaa', a);
    return 'aaa';
}
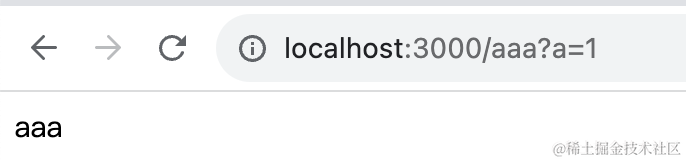
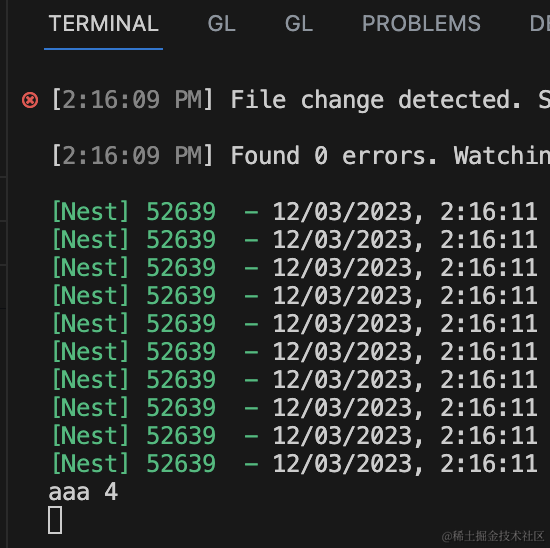
参数不变的情况下,刷新几次,可以看到控制台只打印了一次:

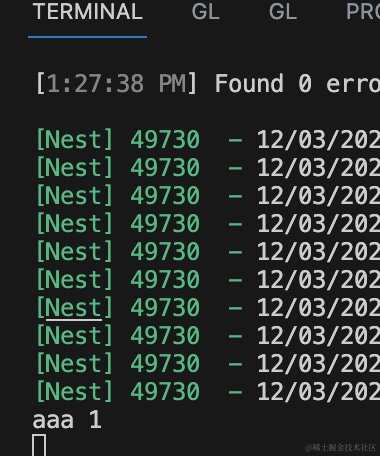
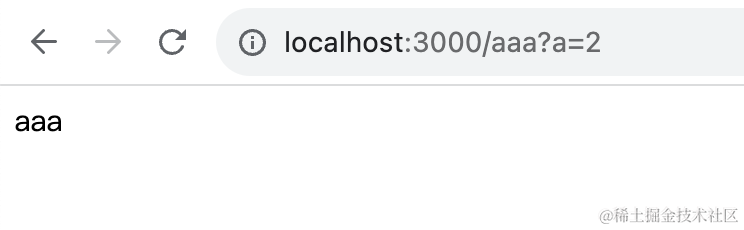
改变参数再刷新几次:
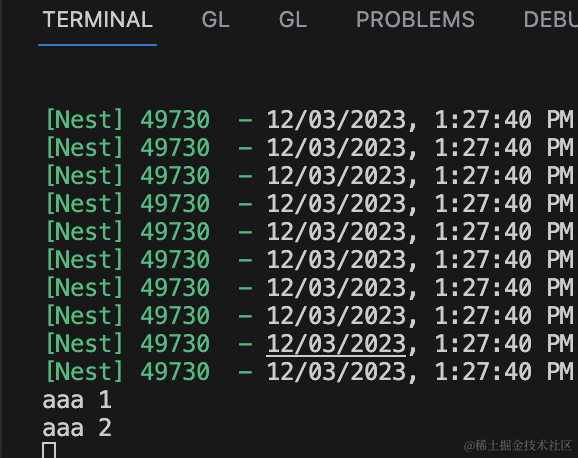
这时候控制台再次打印了,说明 handler 又被执行了。
其余的情况,都是直接拿缓存。
有同学说,缓存数据都在哪呢?好像也没引入 redis 呀?
确实,cache-manager 默认是在内存里的。
如果想存在 redis,要这样:
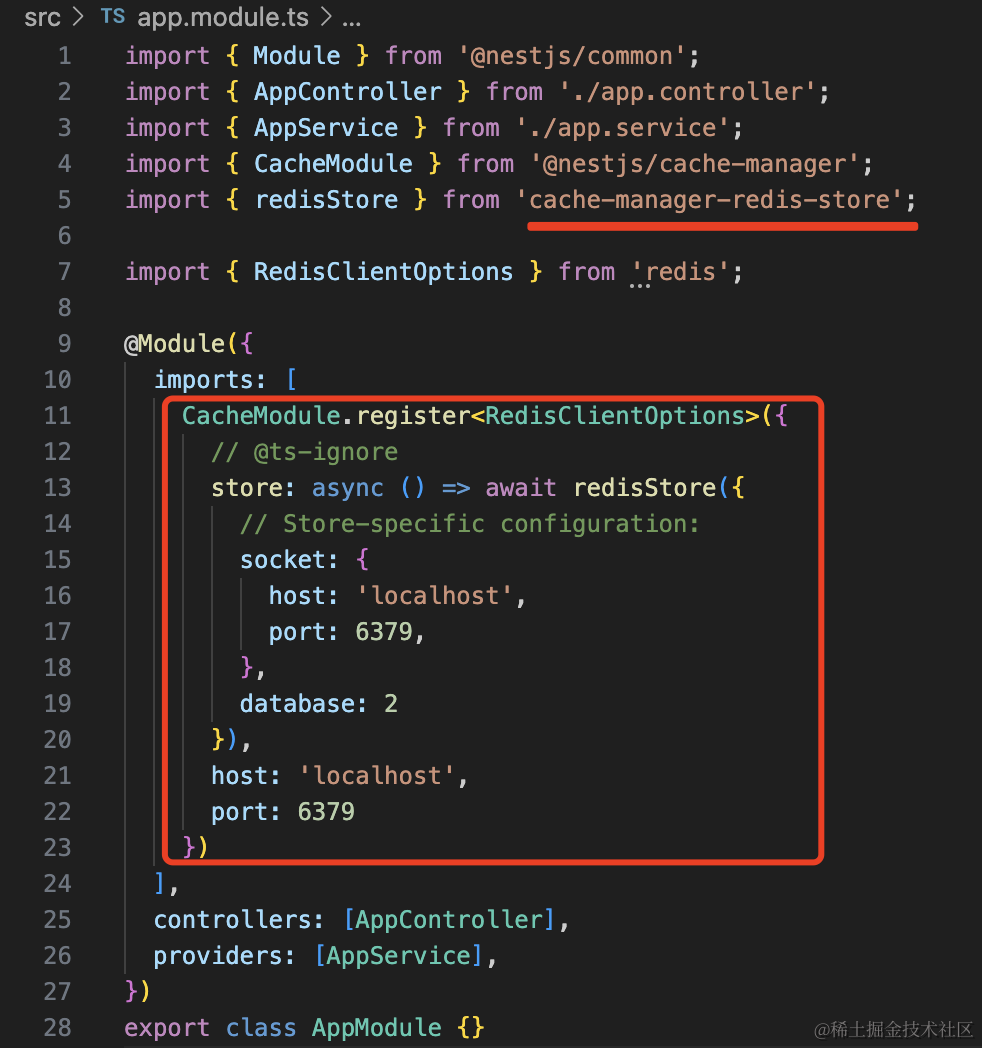
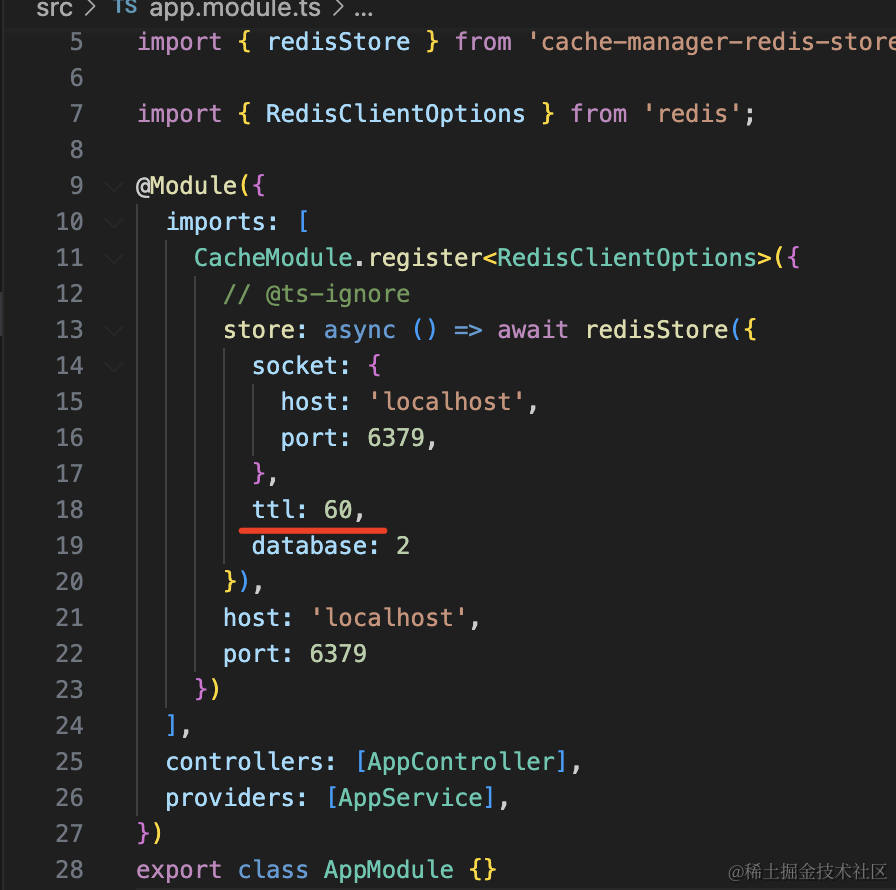
使用 cache-manager-redis-store,然后添加下连接配置:
import { Module } from '@nestjs/common'
import { AppController } from './app.controller'
import { AppService } from './app.service'
import { CacheModule } from '@nestjs/cache-manager'
import { redisStore } from 'cache-manager-redis-store'

import { RedisClientOptions } from 'redis'

@Module({
  imports: [
    CacheModule.register <
      RedisClientOptions >
      {
        // @ts-ignore
        store: async () =>
          await redisStore({
            socket: {
              host: 'localhost',
              port: 6379,
            },
            database: 2,
          }),
        host: 'localhost',
        port: 6379,
      },
  ],
  controllers: [AppController],
  providers: [AppService],
})
export class AppModule {}
这里的 cache-manager-redis-store 要安装下:
npm install cache-manager-redis-store
然后再次访问之前的 url:
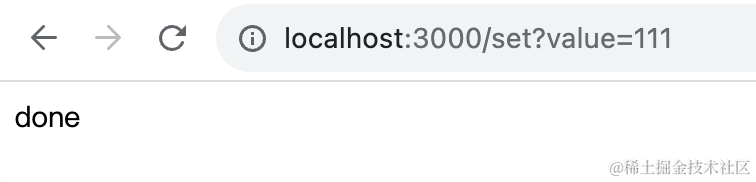
这时候在 redis 里就可以看到缓存的数据:
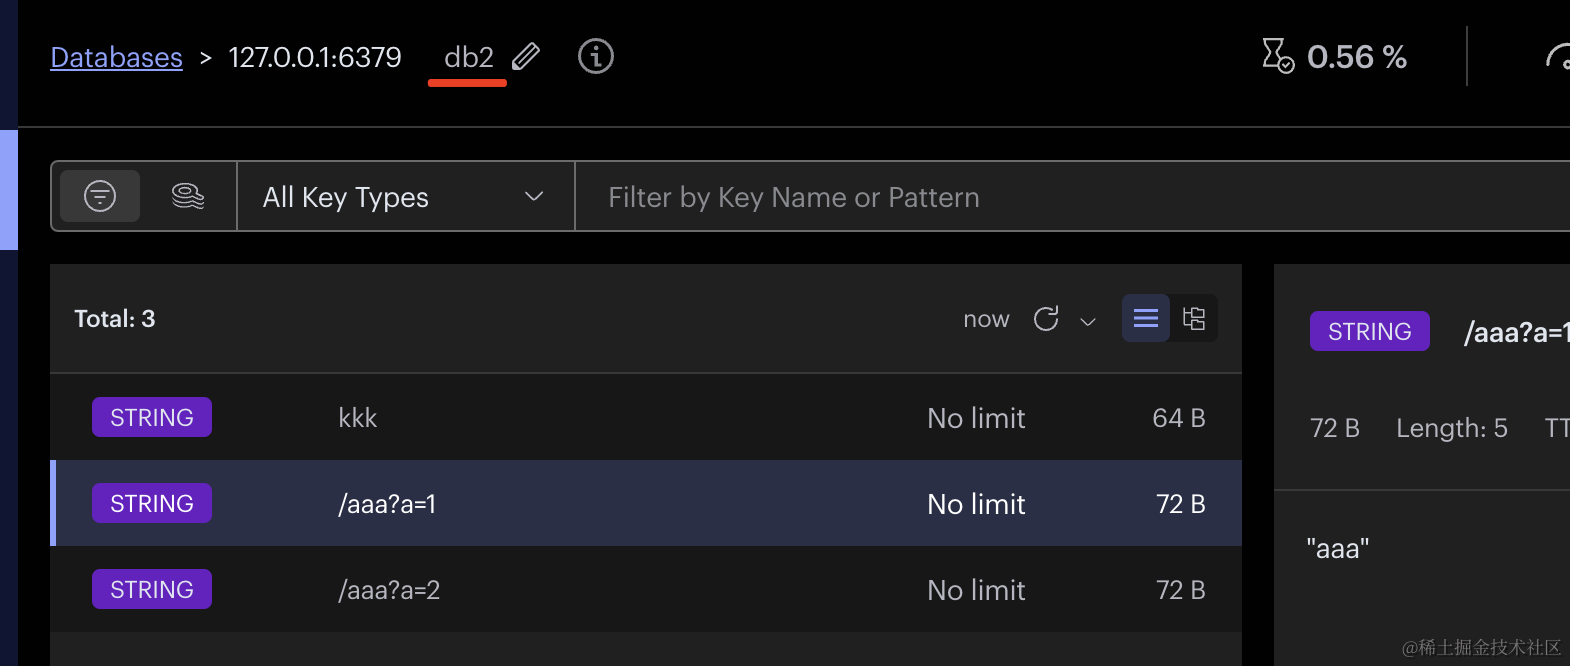
注意,连接的时候我们指定 database为 2,所以在 RedisInsight 里要切到 db2 才可以看到这些数据。
缓存的过期时间也是可以配置的:
有同学会说,这个 CacheManager 不是很好用么?
确实,只做 set、get 的话,用 CacheManager 还是可以的,而且还有 CacheInterceptor 可以对接口做缓存。
但是,redis 还有 list、hash、zset 等数据结构,支持非常多的命令。
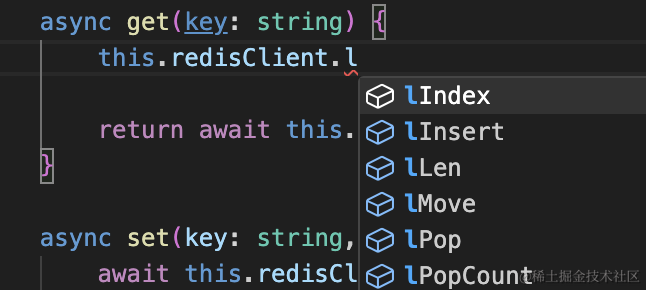

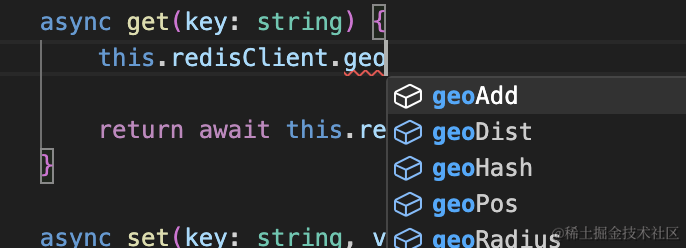
而用 CacheManager 的话,只支持 get、set:
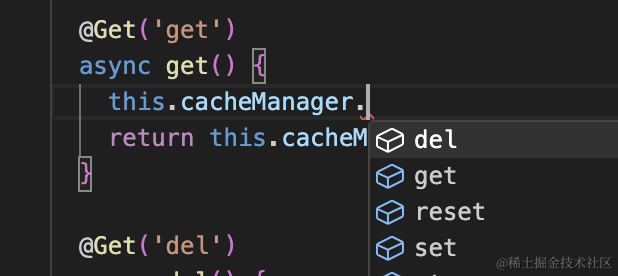
这时候如果你想用 list、hash、zset 等数据结构,还是要自己封装。
那何必用 CacheManager 呢?
直接自己封装下 RedisService,实现 get、set 和其它操作,不是更香么?
有同学可能会说,但它带的 CacheInterceptor 也很方便呀。
确实,但我们一般不会对接口做缓存,如果要做的话,自己实现也不麻烦。
就是拼接这样一个 key 就好了:
我们实现下试试:
先安装用到的 redis 的包。
npm install redis
然后在 AppModule 添加一个自定义的 provider:
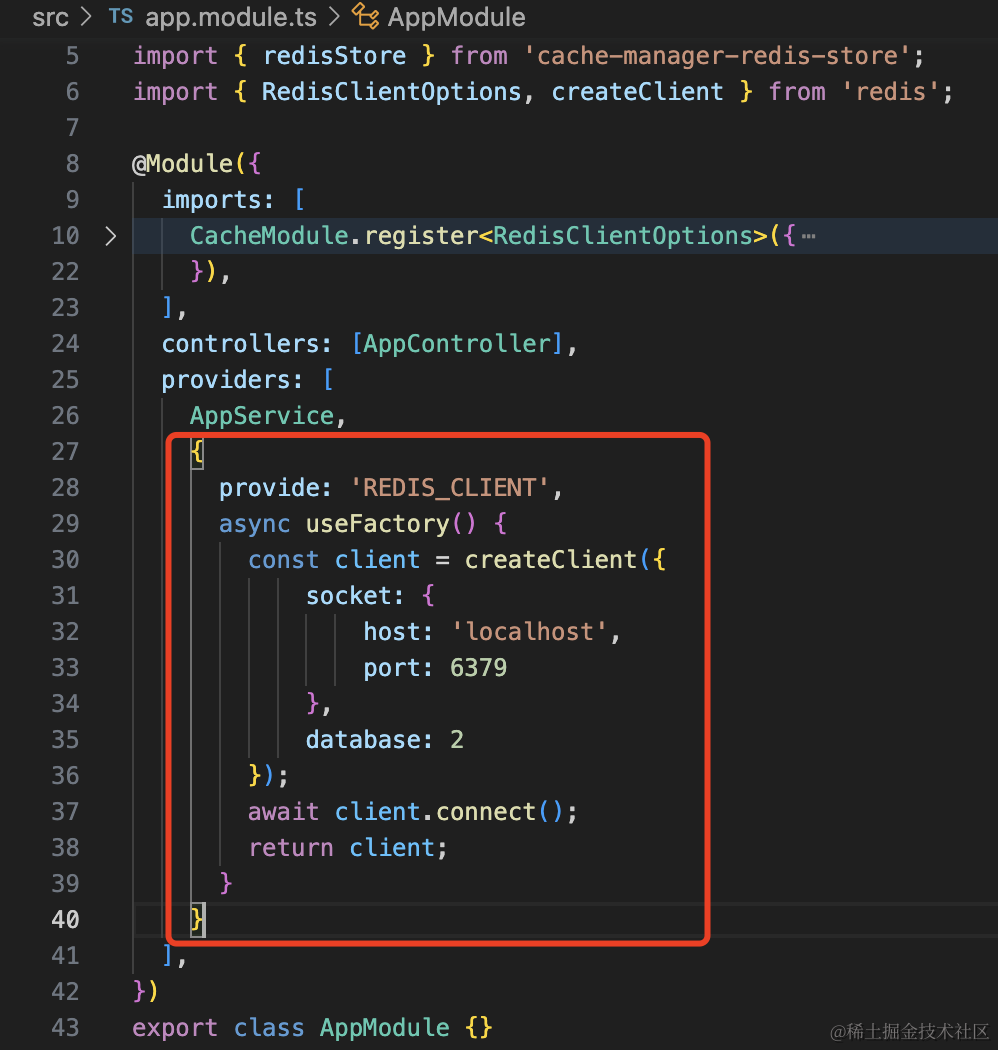
{
  provide: 'REDIS_CLIENT',
  async useFactory() {
    const client = createClient({
        socket: {
            host: 'localhost',
            port: 6379
        },
        database: 2
    });
    await client.connect();
    return client;
  }
}
然后创建一个 interceptor:
nest g interceptor my-cache --no-spec --flat

这样写:
import { CACHE_MANAGER } from "@nestjs/cache-manager";
import {
    CallHandler,
    ExecutionContext,
    Inject,
    Injectable,
    NestInterceptor,
} from "@nestjs/common";
import { HttpAdapterHost } from "@nestjs/core";
import { RedisClientType } from "redis";
import { of, tap } from "rxjs";

@Injectable()
export class MyCacheInterceptor implements NestInterceptor {
    @Inject("REDIS_CLIENT")
    private redisClient: RedisClientType;

    @Inject(HttpAdapterHost)
    private httpAdapterHost: HttpAdapterHost;

    async intercept(context: ExecutionContext, next: CallHandler) {
        const request = context.switchToHttp().getRequest();

        const key = this.httpAdapterHost.httpAdapter.getRequestUrl(request);

        const value = await this.redisClient.get(key);

        if (!value) {
            return next.handle().pipe(
                tap((res) => {
                    this.redisClient.set(key, res);
                })
            );
        } else {
            return of(value);
        }
    }
}
redisClient 是我们前面创建的 provider,注入到这里来操作 redis。
HttpAdapterHost 前面没用过。我们知道 Nest 底层可以切换 express、fastify 等库,而这些库都会实现一个通用的适配器,就是 HttpAdapter。
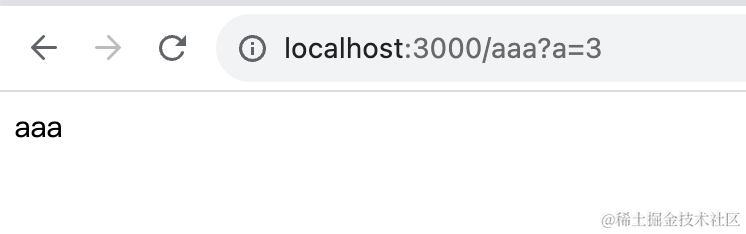
我们这里用到这个适配器的方法来拿到 requestUrl,也就是 /aaa?a=3 这种。
具体的逻辑比较容易看懂,就是如果查到了 key,就直接返回 value,这里要返回 rxjs 的 Observable 对象,所以用 of 包一下。
否则,执行 handler 并且设置到 redis 里。
在 aaa 上应用我们自己写的 interceptor:
跑一下:


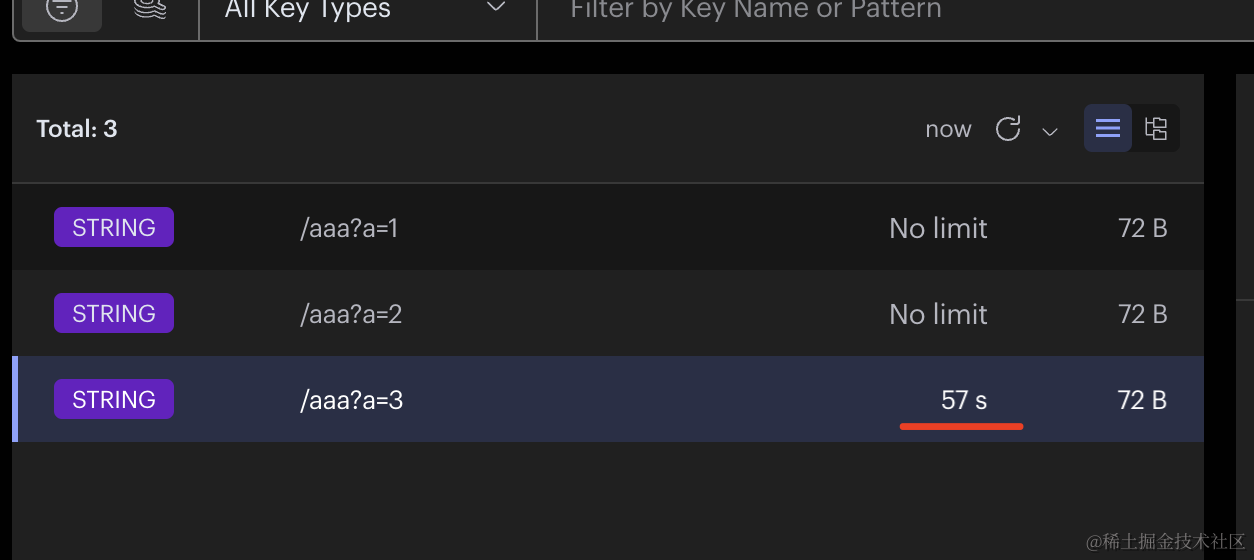
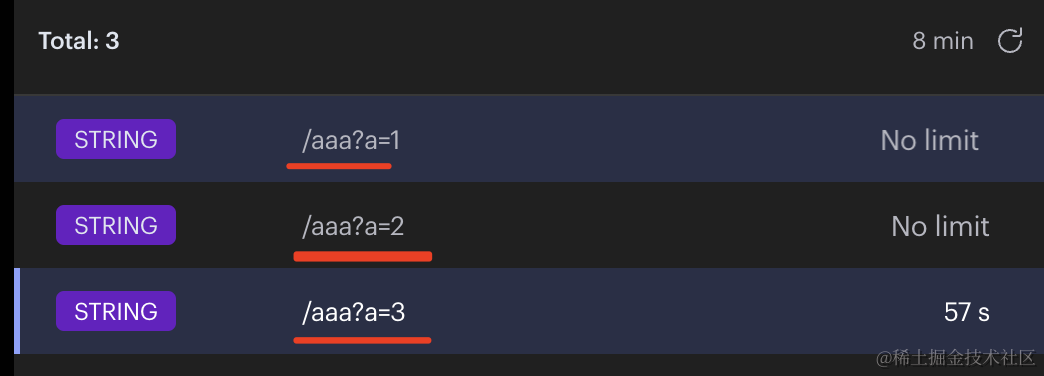
多次刷新只执行了一次 handler,并且在 redis 里存储了对应的 key、value。
这样,我们就自己实现了 CacheInterceptor。
回过头来看下,用 cache-manager 真的有必要么?
我觉得不如自己封装。
案例代码在小册仓库
总结
Nest 文档里操作 Redis 是通过 cache-manager,它可以切换内存存储和 redis 存储,支持 get、set,并且还有 CacheInterceptor 可以对接口做缓存。
但是它并不支持各种 Redis 的命令,绝大多数情况下是不够用的,需要自己再封装。
所以,不如干脆不用那个,自己连接 redis 然后操作它就好。
用到需要 CacheInterceptor 的话也可以自己实现。
后面我们操作 Redis 都是用自己封装个 RedisModule 的方式。